Sunday, August 7, 2011

Cricut Circle August Monthly Challenge: Create a Scene

"There are so many fun Cricut cuts available on our cartridges including trees, buildings, backgrounds, flowers and more! For this next challenge, we want to see you utilize these cuts by creating a scene on your project.

The Challenge: Create a project of your choice utilizing your Cricut Cut Images to create a scene! (You are not required to use it, but your latest Circle Exclusive cartridge, Pop-Up Neighborhood, has tons of great images for building a scene!) Your project must include atleast 2 different Cricut Image Cuts.

Rules and Guidelines: Circle Blog Challenges are open to Cricut Circle Members only. You can create any type of project you would like (tag, altered project, mini album, etc.) but your project must be newly created for this challenge and include atleast 2 Cricut Image Cuts."

In 2006 at my sister's 40th birthday party, my then 2 year old niece performed her version of the hula.  I chose Life's a Beach to create a scene to scrap these adorable pictures.


Cricut cuts:  Palm trees - 10", Sun - 5", Hula girl - 5", Dolphin - 3", Turtle - 1 1/2", Crab - 1", Wave border - 1", Hibiscus border - 1"

Cuts were highlighted with chalks and SU watercolor pencils.

Here's a close-up of the hula girl.

Friday, July 15, 2011

Cricut Circle June Magazine Challenge

"TERESA COLLINS SPONSOR CONTEST!

Teresa Collins is one of our favorites in our little Circle! We have featured her paper collections and Imagine Cartridge all through this month’s issue. It’s only fitting to use her designs in our contest this month! We invite you to create a project, layout, card or gift item using any of her paper collections, Imagine cartridge or Blingage. We would like it to have a celebration theme. Maybe an elegant birthday, anniversary or wedding.

Contest Rules: Use at least 4 Cricut Cuts from any cartridge in your design and at least 3 Teresa Collins products like her paper collections, Imagine cartridge, Blingage, albums or any other product she produces in your design. Contest will open on June 18th. Please upload a working link or picture of your project to the blog under the Magazine Challenge tab. . Please, one entry per person. Entry deadline is Friday, July 15th. The winner of this contest will receive a Damask Décor Cartridge and Cuttlebug folder set!"

For my project I used paper and die cuts from Teresa Collin's Timeless collection and the Gentry's Glitter.  What beautiful paper!


My in-laws will be celebrating 50 years of marriage this coming November.  I created a layout to celebrate their 50th anniversary.  The upper photo mat is for a snapshot from their wedding day.  The bottom photo mat is for a snapshot we'll take at the party.


Cricut cartridges used:  Calligraphy Collection for phrase "Happy Anniversary" and "50"; Storybook for the flourishes.

Paper:  Teresa Collins Timeless Labels, TS2003; Timeless Time Clocks, TS2004; Timeless Die Cuts, TS2010.  Mats and Cricut cuts were cut from paper that I had in my stash.

I used the glitter on the "50" and absolutely loved the effect.  Added additional bling with brads from my stash.

Wednesday, June 29, 2011

Cricut Circle June Monthly Challenge

"JUNE MONTHLY CHALLENGE: On the Road Again Challenge!

For a lot of us summertime means ROAD TRIP! For this challenge, we want you to create something . . . ANYTHING for your car! It can be a travel game, travel activity, organizer, whatever! Let your imagination run wild.

The random winner of this challenge will receive a $150 Credit to Cricut.com!

The Challenge: Create a project of your choice that will help you or your kids on that long summer road trip. It can be a travel game, travel activity, organizer, snack holder, whatever! But your project must include atleast 2 different Cricut Image Cuts."

For this challenge I put together a little travel care package for my son, Travis and his lovely bride Kara.  They are finally getting to go on their honeymoon.  They will be driving to San Diego so I thought the AAA Tour book, some maps and snacks would be helpful. 


I bought a coupon organizer at the Dollar Tree to organize reservation info, maps, brochures and tickets.


I also made a few bookmarks so they can flag pages in the tour book.


Cricut cartridges used:  Pack Your Bags for the phrases and bookmark tops, Birthday Bash for "Treats" and Animal Kingdom for the bookmark.

Monday, June 20, 2011

Cricut Circle Blog Weekly Challenge #34: Father's Day Card Sketch

"The Challenge: Get a headstart on Father’s Day and create a greeting card using the sketch provided below. Have fun!

Rules and Guidelines: Circle Blog Challenges are open to Cricut Circle Members only. Your project must be newly created for this challenge and include atleast 2 Cricut Imagine Cuts.


Here's my take on the sketch, I made a card for my sweet husband:


I used our latest Circle Exclusive cart, Pop-up Neighborhood along with Calligraphy Collection and Wild Card.  From Pop-up Neighborhood, I cut the sun/clouds using the Bakery accessory cut at 3", the airplane is cut at 2 1/2", the cloud paper background is the airplane <s> tag cut at 4". I used Calligraphy Collection for "Happy Father's Day" cut at 3" and Wild Card for "You're One of a Kind" cut at 2 1/4"

Clouds were embossed using my Cuttlebug and the Divine Swirls folder then edges were inked.  All cuts were traced using Sakura gelly roll pens.

Monday, May 16, 2011

Cricut Circle May Monthly Challenge: Tic Tac Toe Challenge

"Tic Tac Toe . . . Three X’s in a Row! That’s the goal in this challenge. Look at the tic tac toe board below and choose three squares in a row. Use the challenge prompts from all three squares to create your project!  Project must include at least 2 different Cricut Imagine Cuts."


I created a two page layout using the Sun Shape, Ric Rac, and Flower Shape.


A couple close ups:


Cartridges:  Walk In My Garden, using Real Size  Snflwr cut at 14", Btnflr cut at 7", at regular size Bee1 cut at 2" and Ldybg at 1"; Create A Critter Bttrfly1 cut at 2 1/2" and Bttrfly2 cut at 2"; Plantin Schoolbook Leaf cut at 2"; Kate's ABCs 4" scallopped square and using Design Studio welded two 4" scallopped squares together to create the rectangle.

All papers were from my paper stash.  Edges of cuts were inked in corresponding colors then cuts were hand stitched.

What a fun challenge and I enjoyed making this layout.  It was a labor of love, I will be donating it to Crops of Luv at our Circle Meet-up on June 3rd.

Tuesday, May 10, 2011

My First Blog Award - Versatile Blogger Award


Mary aka Scrapbooking Grandma gave me my first blog award!   I am very honored Mary, thank you!
Please stop by Mary's blog, she is a very talented lady.


In Accepting this Award I have to share 7 things about myself and pass this award on to 15 blogs.

1. I collect cookbooks
2. I don't like to cook
3. I'm obsessed with paper, can't have too much
4. I love to camp
5. I'm a HUGE Disney fan
6. At 46 I still get excited about going to Disneyland
7. I am very blessed

I'd like to pass this award on to the following blogs as they are an inspiration to me.
 
Monique Griffith Designs - Monique is truly an inspiration in every sense of the word.

Cricut Circle Blog Weekly Challenge # 31: Gift Card Challenge

"The Challenge: With Teacher Appreciation, Graduation, Baby Showers, Weddings, and other special events that are sure to be gracing your calendar over the next few months, we thought it might be fun to have a challenge to see your creative Gift Card and Money Holder ideas. Using your Cricut create a gift card or money holder."

I love the 3-D back pack from Campin Critters and just had to try my hand at making one. I thought it would be the perfect gift card holder for the outdoorsman in my life.

I cut it at 10 1/2" at this size a bag of trail mix and the gift card fit perfect.


I added a couple of dog tags cut from Base Camp at 1".


Tuesday, April 19, 2011

Cricut 5th Anniversary Challenge

How exciting is this!

"It’s the 5th Anniversary of Cricut and time to celebrate. On April 26th at 12am EST Provo Craft will launch Cricut Expression 2: Anniversary Edition on HSN. We want everyone to join in the fun by designing a scrapbook page for a chance to be one of FIVE lucky people to win the new machine when it debuts on HSN. Here’s how. Send an original scrapbook layout to enter to win the brand new Cricut Expression 2: Anniversary Edition. If you watch every airing on HSN you might also see your design on live TV with Jinger.

RULES:
• The contest runs April 5-22 and all submissions must be received at the Provo Craft office by 5pm April 22nd.
• Anyone can participate ages 18 and older (U.S. and Canada only).
• Submissions must be a single page scrapbook layout size 12x12.
• Submissions should have a Birthday Theme.
• Submissions can use any Cartridge made by Provo Craft.
• Submissions must not include photos.
• Submissions will not be returned and will become the property of Provo Craft.
• Submission may be shown on a National TV station.
• Judging will be done at the sole discretion of Provo Craft.
• You may enter up to 3 scrapbook layouts.

Winners will be announced after the 1am, 7am, Noon, 4pm and 8pm EST HSN airings on April 26th. Look for the those announcements on both facebook.com/officialcricut and facebook.com/Jingeradams.
Good Luck everyone!"

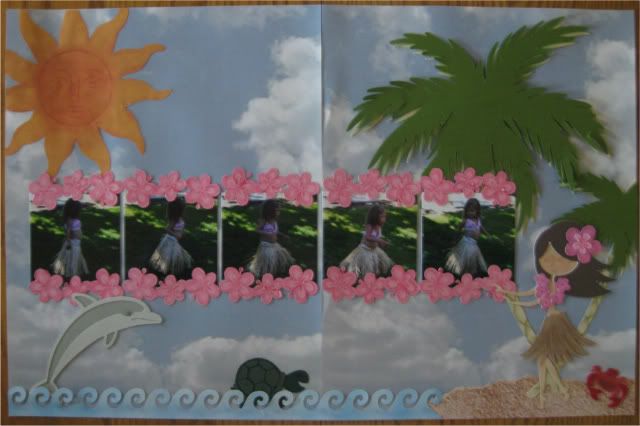
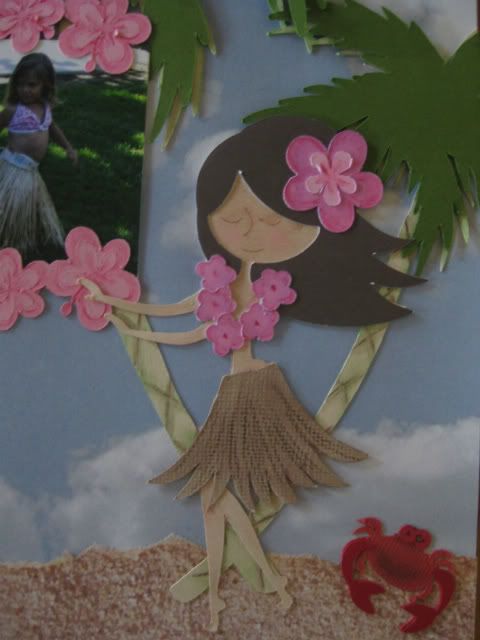
Well I didn't have time to do three layouts but I was able to create two.  The first one is definitely my style.  For the second one I wanted to come up with something a little different and stretch myself.  I'm pleased with how they both turned out but I am excited about my second one.

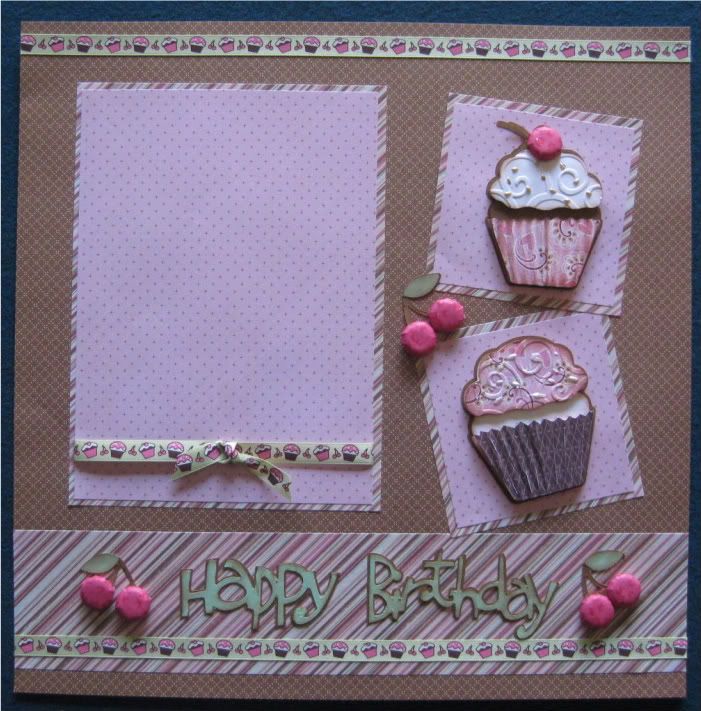
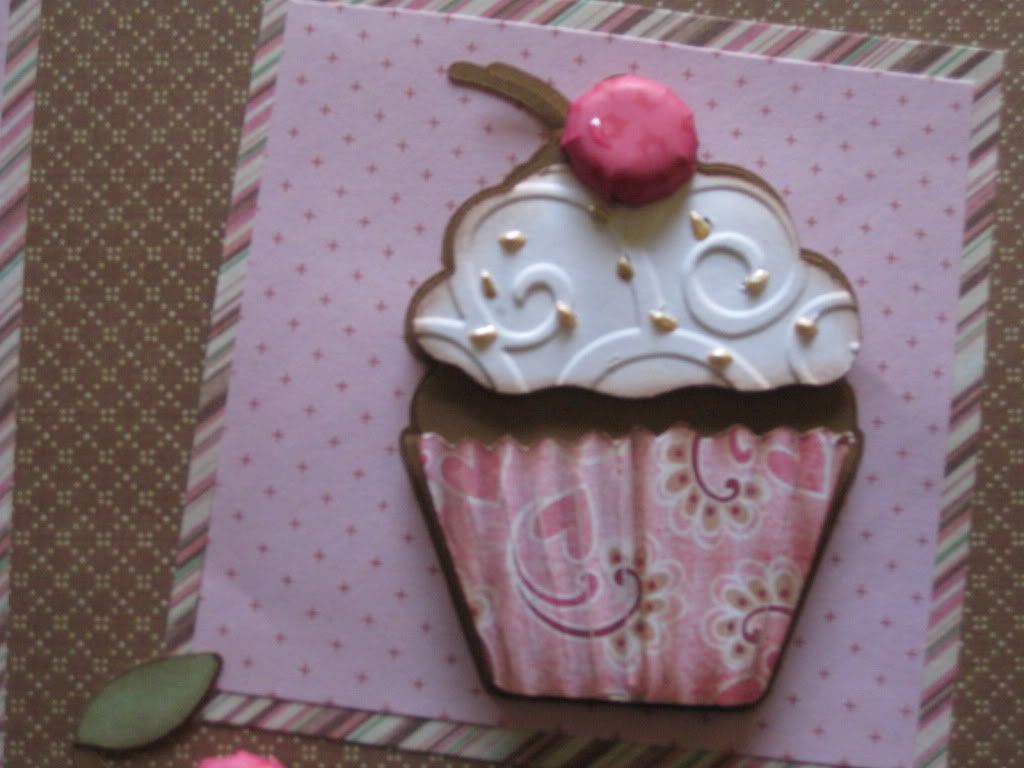
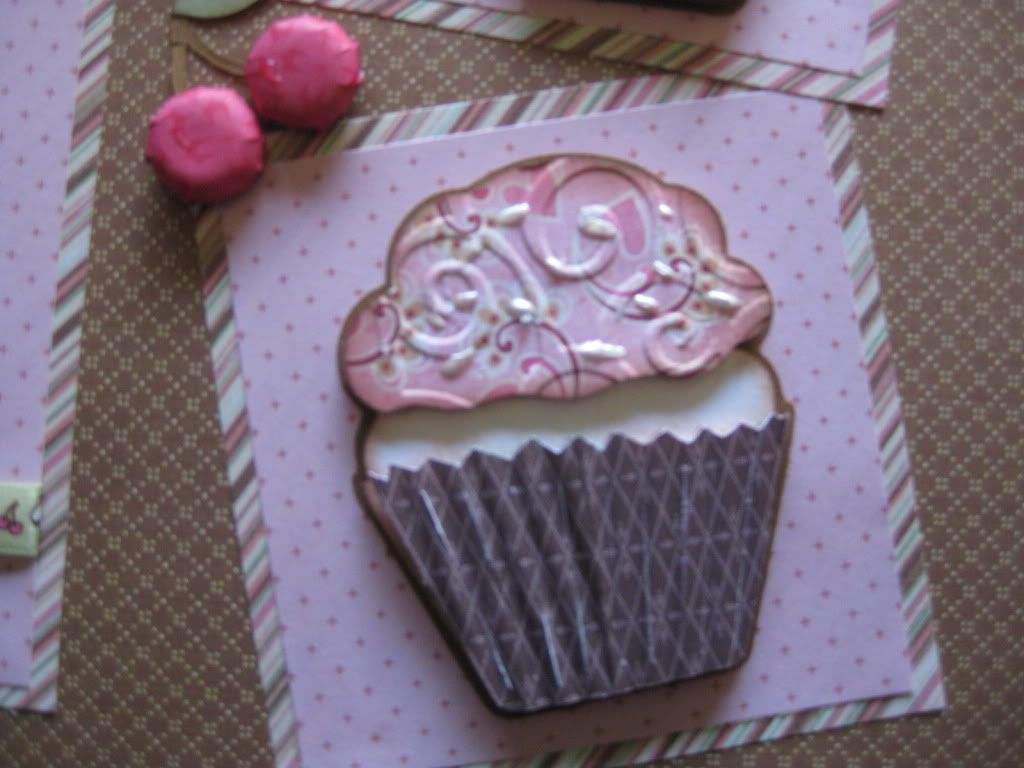
Here is my first layout:  "Happy Birthday Cupcake"


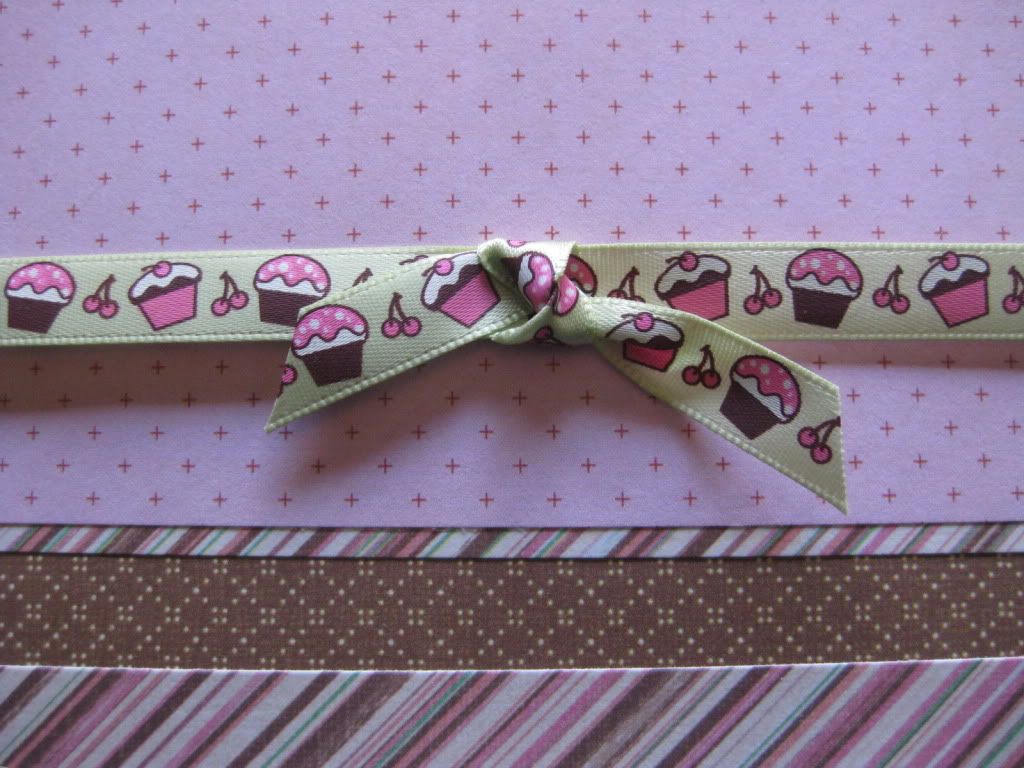
My inspiration was the ribbon I picked up from the dollar in at Michael's.  I loved the cupcakes and cherries.

Cartridges -  Celebrations, Create-A-Critter, Lyrical Letters, Zooballoo
Design Studio used to flip and weld cupcake with cherry
Cuttlebug - Divine Swirls folder
Paper – K&Company.
Other supplies - Imaginisce iTop, Liquid Pearls, brown ink, crimper

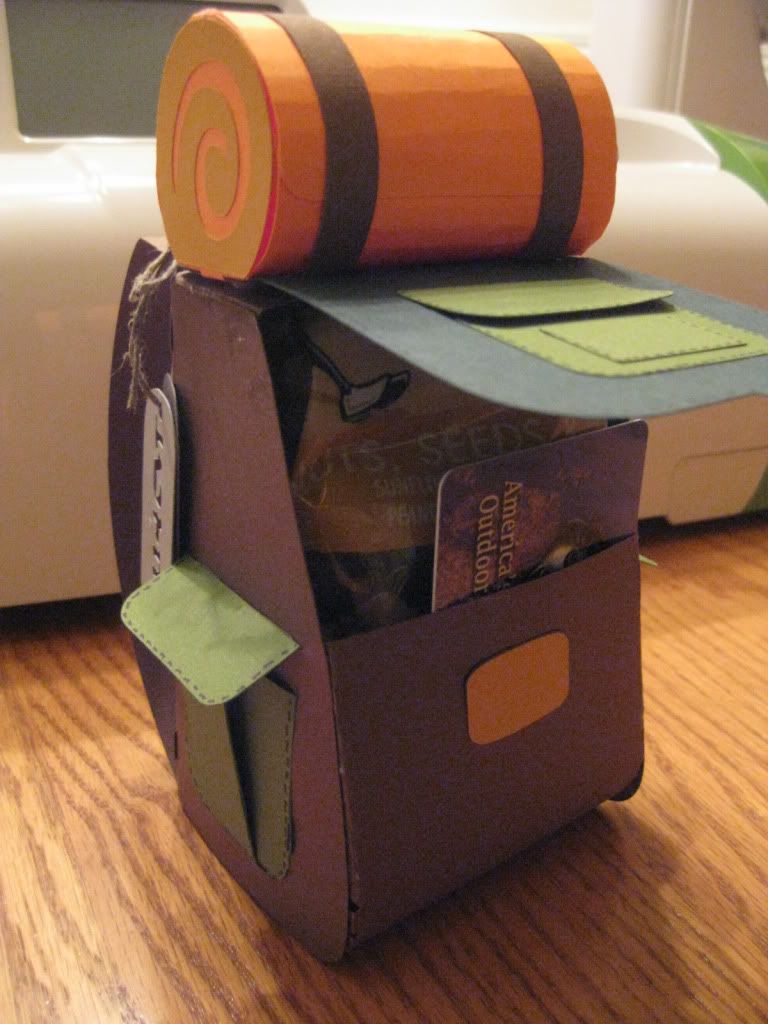
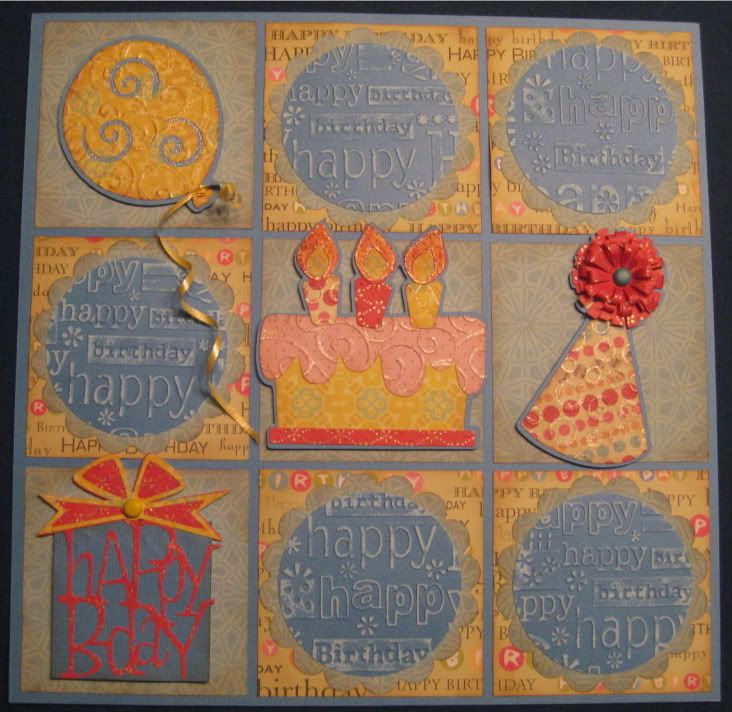
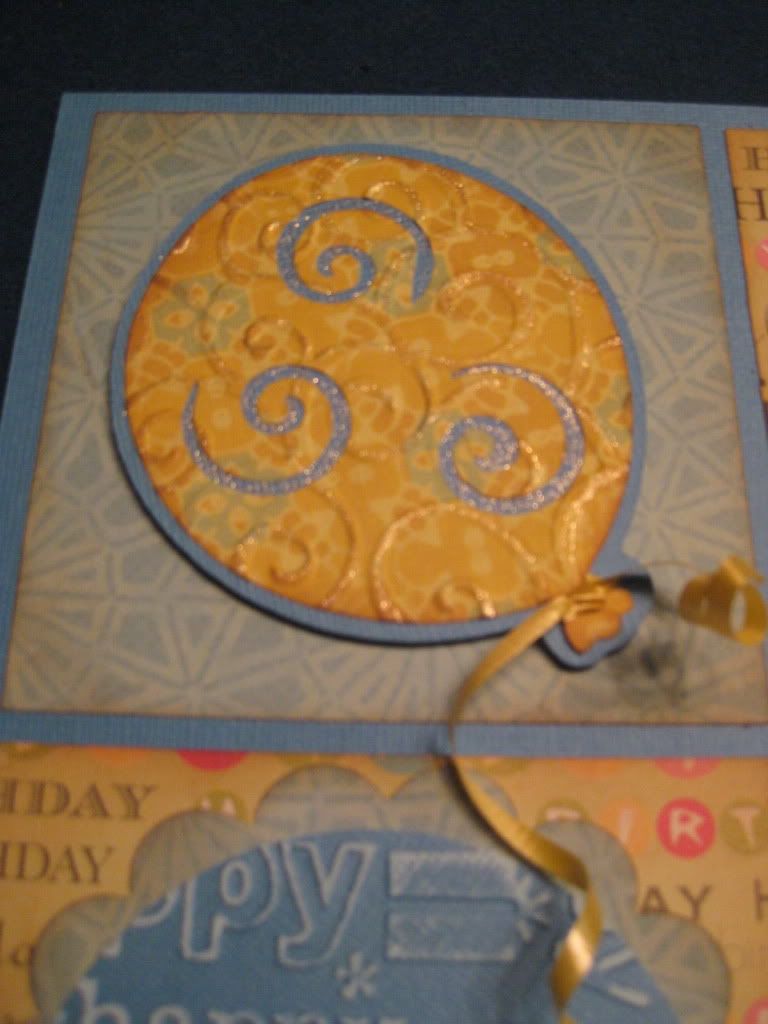
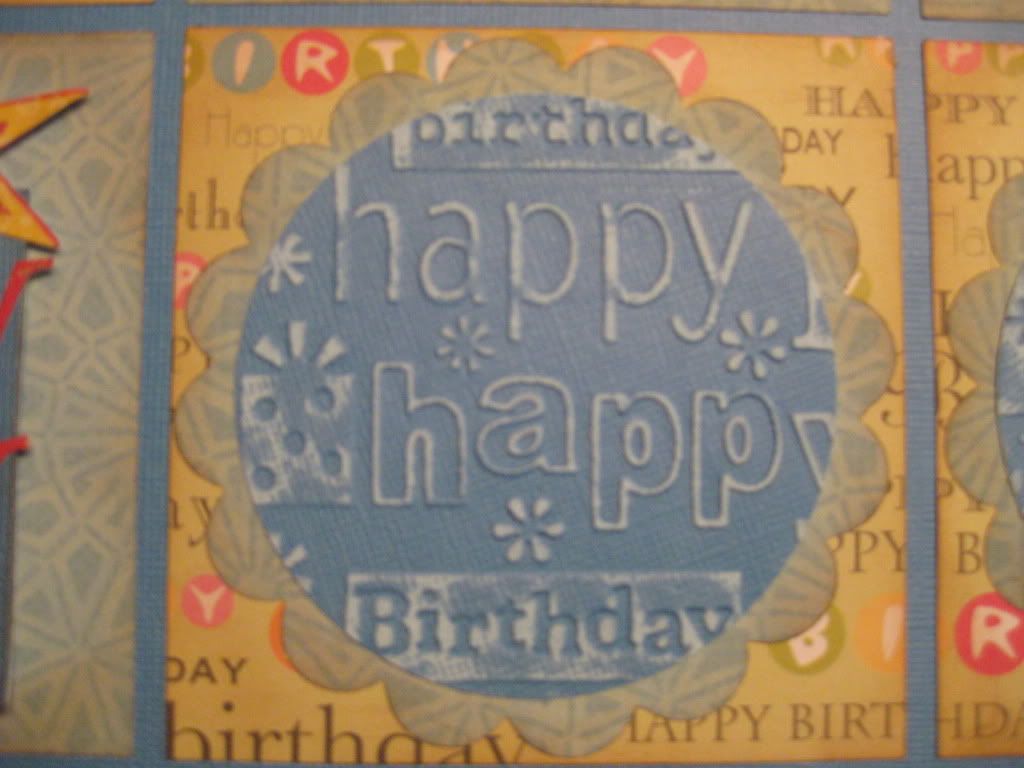
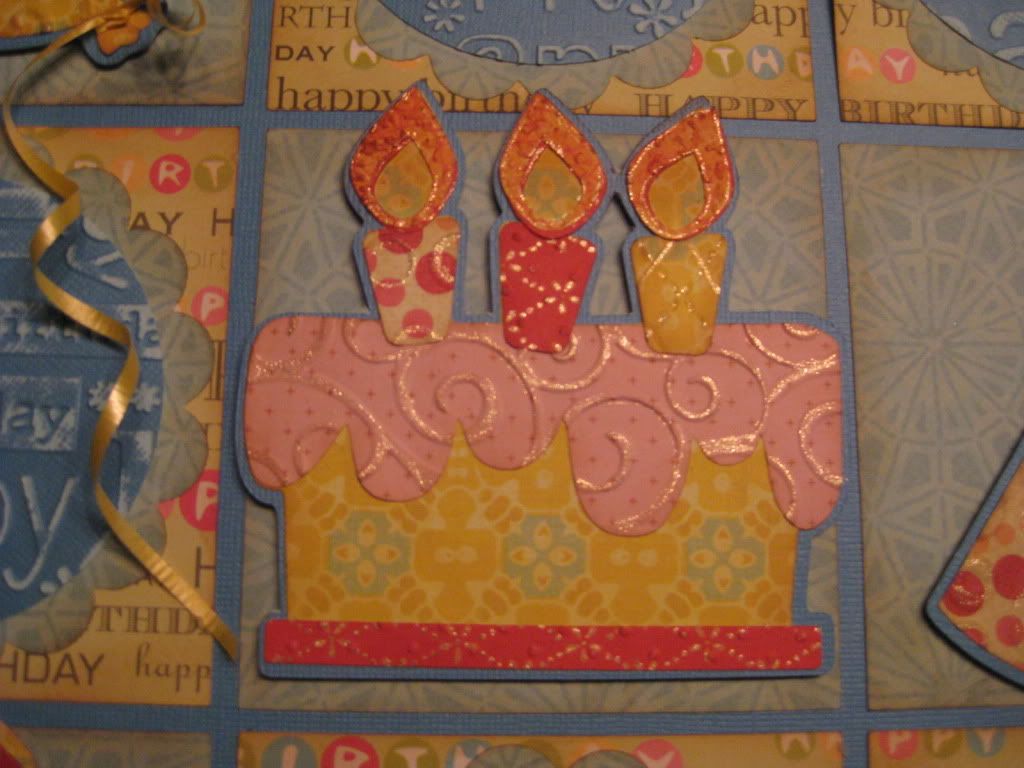
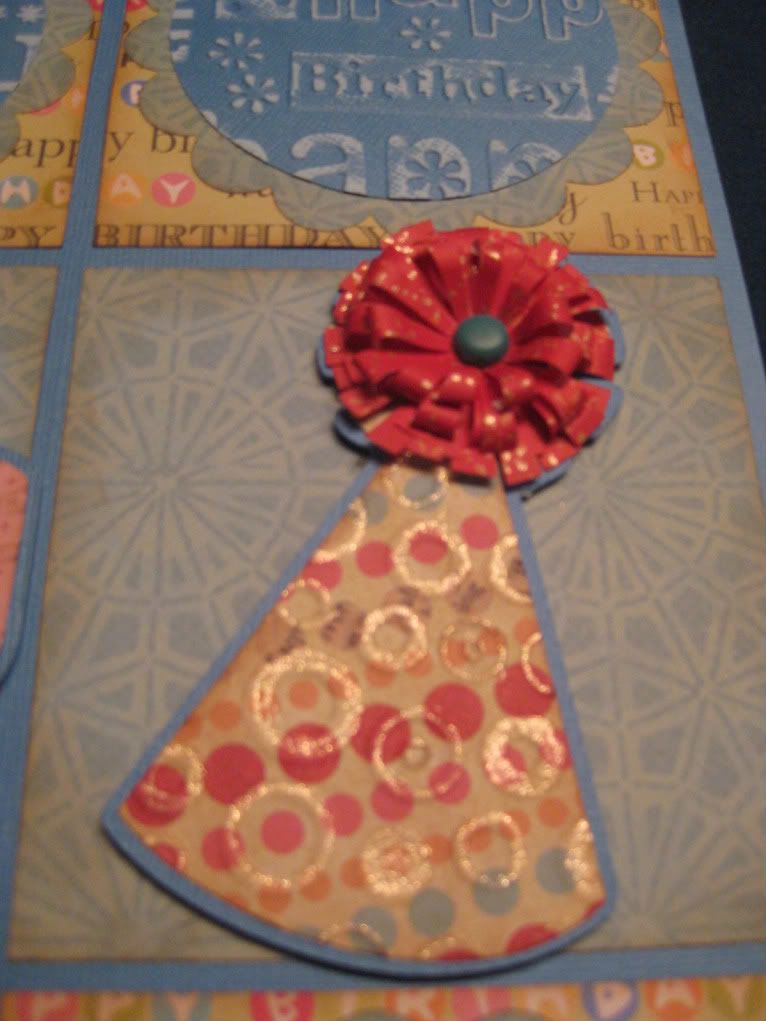
Here is my second layout:  "Birthday Celebration"


Cartridges -  Celebrations, George Basics and Shapes, Lyrical Letters, Mini Monograms, Simply Charmed
Cuttlebug – Argyle, Divine Swirls, “Happy Birthday”, Spots & Dots, Textile Texture, Swiss Dots
Paper – K&Company, DCWV and Core’dintations
Other supplies - brown ink, brads, emery board, Clear Star Sakura glitter pen, quilling tool

Sunday, March 27, 2011

Cricut Circle Blog Weekly Challenge # 26: Just Because Challenge

"Create a layout featuring an everyday topic or create a “Just Because” card."

Wow it has been a little while since I got to participate in a challenge!

Here is my entry for the "Just Because Challenge" on the Cricut Circle Blog. I will be using it for my office's card kit swap next month as well.


The card is from Stretch Your Imagination cut at 5". I actually used card blanks so I used DS to hide the outside line of the card and just cut the turtle window on the blank. To add layers to the card, I cut the turtle at 2 1/8".

I ran the frame through the cuttlebug using the Divine Swirls folder which I inked with Ranger Distress Ink in Faded Jeans. I embossed the turtle with Fiskar's texture plates, Leather for the body and Honeycomb for the shell. I then inked the raised impressions with Ranger's Distress Ink in Crushed Olive. After the card was assembled I inked the edges and added Glossy Accents to the bubbles.

Saturday, February 12, 2011

Cricut Circle Blog Weekly Challenge #20: Love Notes Challenge

"Valentine’s Day is just a few days away and we thought it would be fun to challenge you to put your scrappy skills to use by creating an extra special note for someone you adore. It can be a friend, your mom, a lover, your child, a neighbor . . . anyone! Your project must include a heart and embossing (we want to see you incorporate those Cuttlebug embossing folders). Project must also contain atleast 2 Cricut cuts to qualify.'

Here is my Love Note:


Letters and heart were cut from Storybook using the base and shadow features at 1 1/2". Using Design Studio I used the following Cricut cartridges and changed the dimensions to fit:  French Manor for the postage stamp (BirdStmp) cut at 4 x 5 1/4"; George and Basic Shapes four retangles (rctngl1) cut at 1 1/2 x 2" and four cut at 1 5/8 x 2 1/8". 

I embossed the stamp cut using the hearts embossing folder from the Love Language combo and the patterned rectangles using Divine Swirls.

Paper is from my scraps.

Friday, February 11, 2011

Cricut Circle Magazine Challenge: My Sweet Valentine

"We want you to create a fun Valentine’s Day Project. It can be anything from classroom treats to a gift for your sprecial someone!

Please use at least four Cricut cuts and include something edible in the design (even if it’s just candy inside). "

I saw this really cute heart box in the Valentine isle and knew this is what I wanted to make for this challenge.


When I got home I searched cricutsearch.com for the heart box and came up empty so the real challenge was recreating it in DS.  I thought this would be fairly easy.  At first I tried cheating by using of all things, hearts.  After many practice cuts I decided to go back to basics and pulled up my George and Basic Shapes.  Here's my box laid out in DS.  (HeartboxRita.cut)


Cut and scored box:


These photos give you a better idea where to score the box:


For the box fronts I chose cuts from Cindy Loo and Sweet Hearts.  The hearts are from Cindy Loo, Heart-s cut at 4" and at real size.  From Sweet Hearts I chose the monkey, puppy and kitten cuts and shadows cut at 2 1/2".


I cut two of the puppy and kitten so I could just use the heads, the monkey has a separate cut for the head.  I went over the features with a thin black Sharpie and added a little pink chalk on the checks and insides of the ears.  Cuts were assembled, I pop dotted the heads, and attached to box cuts prior to folding along scored lines.  Heart shaped gems added to give it a little bling.

I used Value Pack 8 1/2 x 11" red cardstock for the boxes, K&Company patterned paper from their Super Paper Pad and scraps for the critter cuts.

Here are the finished boxes:


Very happy with how they turned out and now that the cut file exists, very easy to make.

Thursday, February 10, 2011

Cricut Circle Blog Weekly Challenge #19: Whatevah!

"“Whatevah!” is a phrase a lot of parents of teens hear around their house on daily basis. We thought we’d take that phrase to heart for this next challenge. What we’d like you to do is use WHATEVAH shape you would like, but be sure to repeat it three times on your project. Project must also include spray ink and must be newly created for this challenge."

Here is my "Whatevah" entry:


In a close-up of the butterfly you can see the shimmer of the spray ink.


Cricut cartridges used were French Manor for the stamp cut at 1 3/4" and Designer's Calender for the butterfly cut at 1".

The butterflies are inked with purple and black ink.  For the spray ink, I used a Ranger spray bottle and filled it half way full with water.  I added six drops of Tim Holtz's Sail Boat Blue Alcohol Ink and two scoops (little scope tool in Cricut tool kit) of Forever Blue Perfect Pearls.  I sprayed the butterflies and the stamp cuts.

The butterfly background paper is from my scraps.  I cut three 1 x 1 1/2" rectangles and ran them through the Cuttlebug using the Textile Texture embossing folder.  Using white ink I dabbed it over the embossing.

For the card background, I used K&Company "Floral Stamp" embossed vellum.

Well, I'm a little dingy tonight.  My brain just isn't quite working.  For some reason I thought by posting to my blog I would magically be entered into the blog challenge.  When I realized it, I missed the deadline by a few minutes!

Thursday, February 3, 2011

Cricut Circle Blog Weekly Challenge #18: Back to Basics

"For this challenge we want you to go “Back to the Basics” . . . by using ONLY the cartridge(s) that came with your machine or Gypsy! You must use THREE cuts on your project (the complete title or words counts as one cut). We can’t wait to see what you come up with!"

For this challenge I used the sketch from AllisonF's Snow Day Challenge posted on the Circle MB.  No, I didn't have a snow day but I loved the sketch she picked and thought it would be perfect for the pictures I was trying to scrap for the blog's weekly challenge.


Here's my take on the sketch, it is modified for a 8 1/2 x 11 layout.


George and Basic Shapes was the cartridge that came with my machine.  For this layout I cut "COUSINS" at 1", heart1 and circle at 2", flower2 in various sizes 1/2" to 1" using DS to shrink them.  I created a butterfly by welding two 1" heart2 with the oval2 and a circle shrunk to fit.  Two 1" silhouette heart2 were cut for the wings.

Patten paper is from K & Company super paper pad and the solids are from my scrap bin.

Tuesday, January 25, 2011

Cricut Circle Blog January Monthly Challenge: Scraplift a Circle Blog Project

"It’s been three months since we first began the Cricut Circle Blog. We LOVE bringing you new projects and hope that you enjoy reading the blog each day. It is also our hope that we have inspired you to try something new in your crafting. For this month’s challenge we would like to see you scraplift one of the projects you have seen us present here on the blog. It can be anything! And feel free to add your own creative twist to the project. Project must be newly created for this challenge and should include the following elements to qualify.
  • Use 2 or more Cricut Cuts on the project.
  • Use a project you have seen on the Cricut Circle Blog as inspiration for your project.
  • Use products from at least two of our Sponsor" 
For my scraplift project, I chose Lynn Ghahay's wine charms posted on November 27th.


It has been a while since I've played with Shrinky Dinks so I thought this would be a fun project.  I chose the following cuts from Doodlecharms:  Lady bug and Watermelon, 2 1/2" and Apple, Flower, Heart and Dragonfly, 3".  I used the Cricut markers to draw the cuts first then I cut them out.

Using American Crafts Slick Writers I colored the cuts.  These markers are for writing on plastics.  This marker pack was limited to five colors:  Black, Blue, Red, Green and Purple.  I used a brown Cricut Marker for the apple stem.

To enhance the design, I used Imaginisce's "Flower" stamp from their Snag 'em Stamps and black Staz On ink, stamping on the same side I had previously colored.


After baking, charms were assembled using earring rings and plastic beads.


A few close-ups


They are a little darker than I would have liked but overall I am happy with how they turned out.  I love the stamped image on the plastic.  This definitely was a fun project and I'll be playing more with Shrinky Dinks.