Monday, August 26, 2013

Farm Themed Birthday Layout

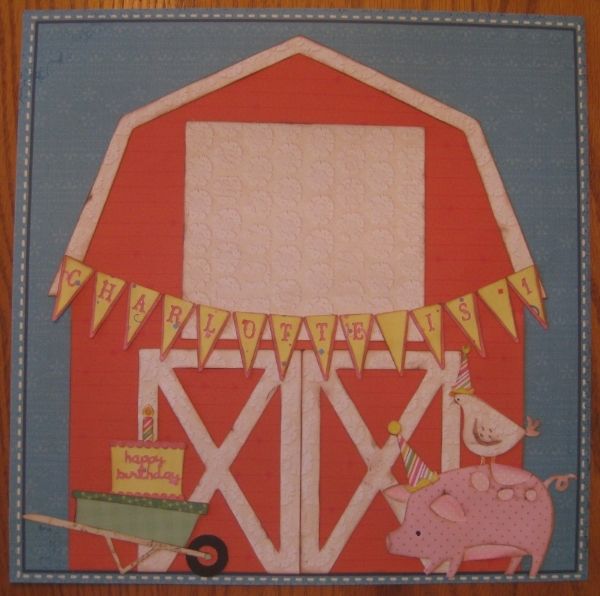
Here's a fun little layout I created for the 8/23/13 Circle Weekend Challenge.  The challenge was to create something for a party.  Since I will be going to a birthday party this weekend the challenge was perfect.

 
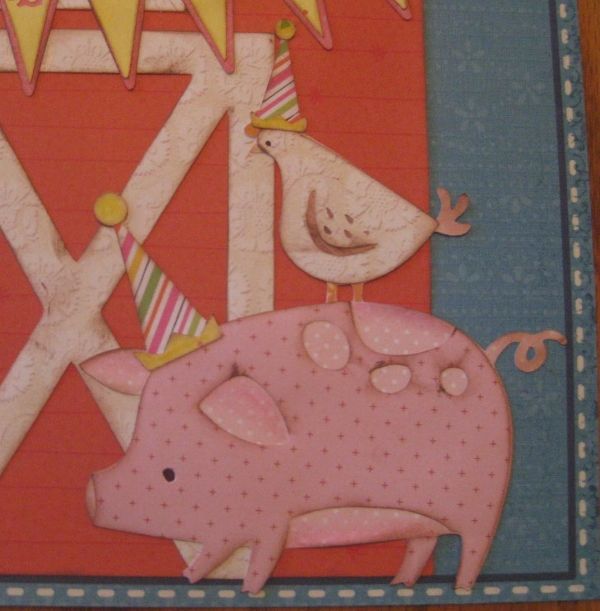
This little piggy is ready to party until the cows come home


The paper is from my stash and scrap bin.
 
I used the following carts:
 
Country Life - on real dial size Barn and barn layer (cut 2 for the door) at 11"; real dial size off Pig with chicken at 4"; Banner letters at 1 1/2"
Birthday Bash - Birthday hat at 1 and 1 1/2"
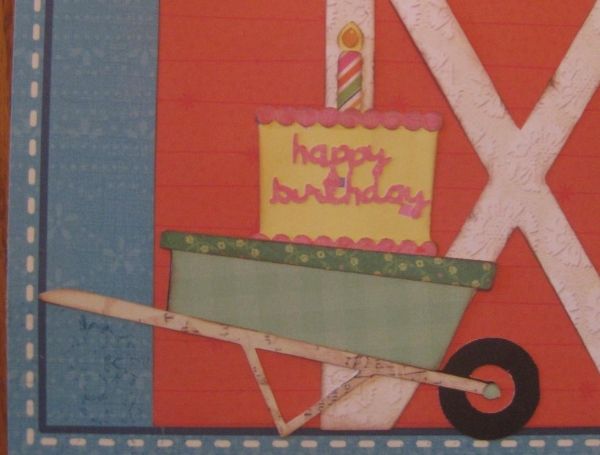
Freshly Picked - Wheelbarrow at 2"
Sweet Treats - Birthday cake at 2"


Sunday, January 27, 2013

Family Layout

Today's post is a layout I shared on the Cricut FANatics blog.  It is hard to believe January is almost over. Like everyone else, I set some goals for 2013, one of which was doing at least one layout a week. So today, I have a layout to share with you as well as a couple online resources I go to when I'm looking for sketch ideas or Cricut images.

I had some family snapshots I wanted to scrap but wasn't coming up with any great ideas as to how I wanted my layout to look. For inspiration I went to pagemaps.com. This site as all kinds of sketches. I selected a sketch from August 2006.


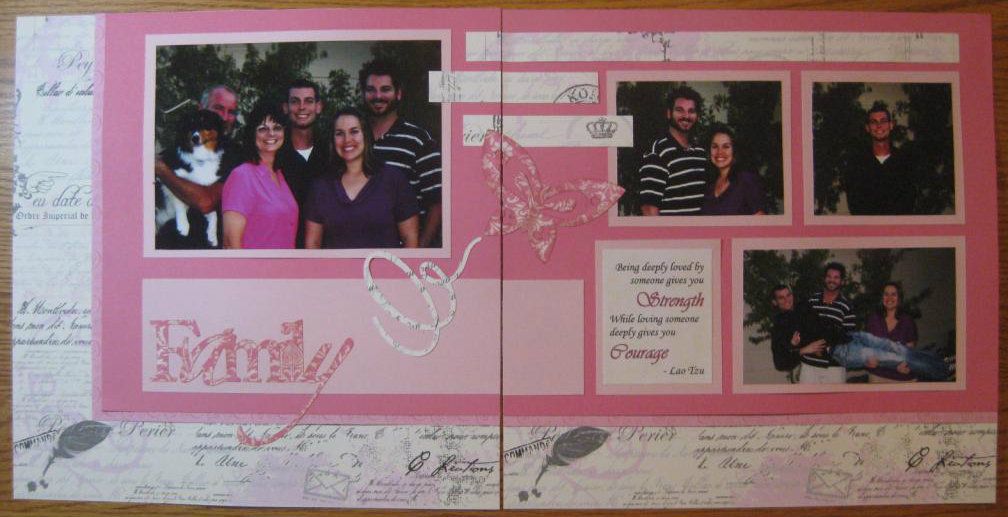
And here is my completed layout:


I used Echo Park "Love Letters" and Paper Pizazz "Soft Tints Pink Swirls". The solid pink is from Close to My Heart.

It takes me a while to choose the cuts for my layouts. Part of the problem is I have a lot of cartridges and don't know which carts have the image I'm looking for. To solve my problem I go to mycutsearch.com. This site is awesome and simple to use. You simply enter what you are looking for and the site shows you all the handbook pages with the searched image.

The Echo Park paper was double sided so I used the reverse side for my cuts. The butterfly is from Pink Journey and "Family" is from Sophisticated. Both were cut at 3". "Family" was part of a longer phrase so I used Design Studio to hide the other words and make the cut.

I started my layout at a crop and I didn't bring my inks but I had my Inkadinkado blending chalks. I used brown chalk along the edges of my cuts.

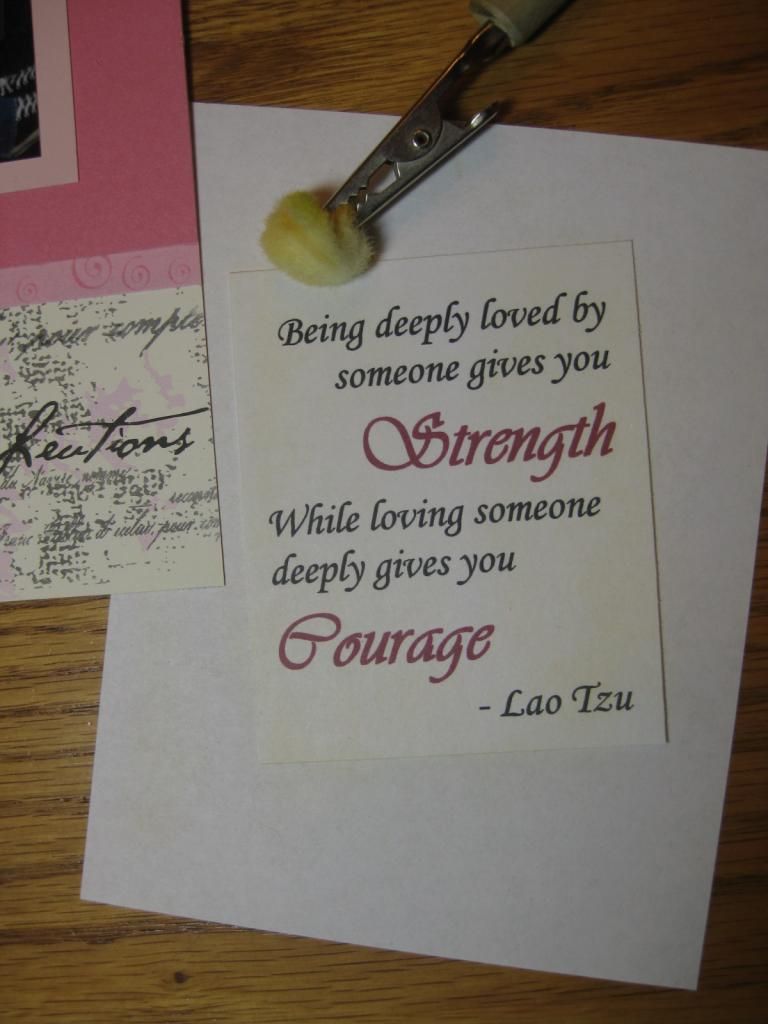
The quote was computer generated but I only had white paper. I didn't like the starkness of the white so I yellowed the paper with a mustard colored chalk.

Looking for sketch inspiration go to pagemaps.com
Looking for a Cricut image go to mycutsearch.com

Thank you for stopping by and allowing me to share with you today.


Designed by: Rita Poteat
Cartridges: Pink Journey, Sophisticated
Cricut Machines: Expression, Design Studio
Other Materials Used: Echo Park "Love Letters", Paper Pizazz "Soft Tints Pink Swirls", Close to My Heart pink cardstock, Inkadinkado blending chalks
Wednesday, December 26, 2012

Cricut Cricut FANatics Crafty Challenge #4- Christmas/Winter Decorations

This month the Cricut FANatics crafty challenge is to create a Christmas or winter decoration for the home.  I thought this was the perfect challenge to recreate something I came across on Pinterest. 

I loved the look of this wall decor item created by Kim Wilson from Sand & Sisal.


Here is my Cricut version:


The letters were cut from Wall Decor & More at 11 1/2 inches.  Instead of an "O", I used the zero.  Each letter was cut from Cosmo Cricket paper, the "Be Good: Poinsettia" pattern and twice from chipboard for thickness.  After the paper and chipboard was sandwiched together, the edges were inked with VersaMagic "Jumbo Java".  The "N" "0" and "L" were taped together on the backside.  The "E" was placed on top of the other letters using foam tape to give it dimension.


I was very pleased with the results.

Monday, October 22, 2012

Cricut FANatics Sketch Challenge #2

Here is the October's Sketch Challenge on the Cricut FANatics blog from Amy of Amy's Digi Scraps.


The challenge is to create a card or layout using the above sketch and you must use your Cricut.

I have been working on my 2006 album forever!  I had a few more pages to do but lost my mojo on working on the album long ago.  This sketch helped me finish the album.  Thank you Amy!


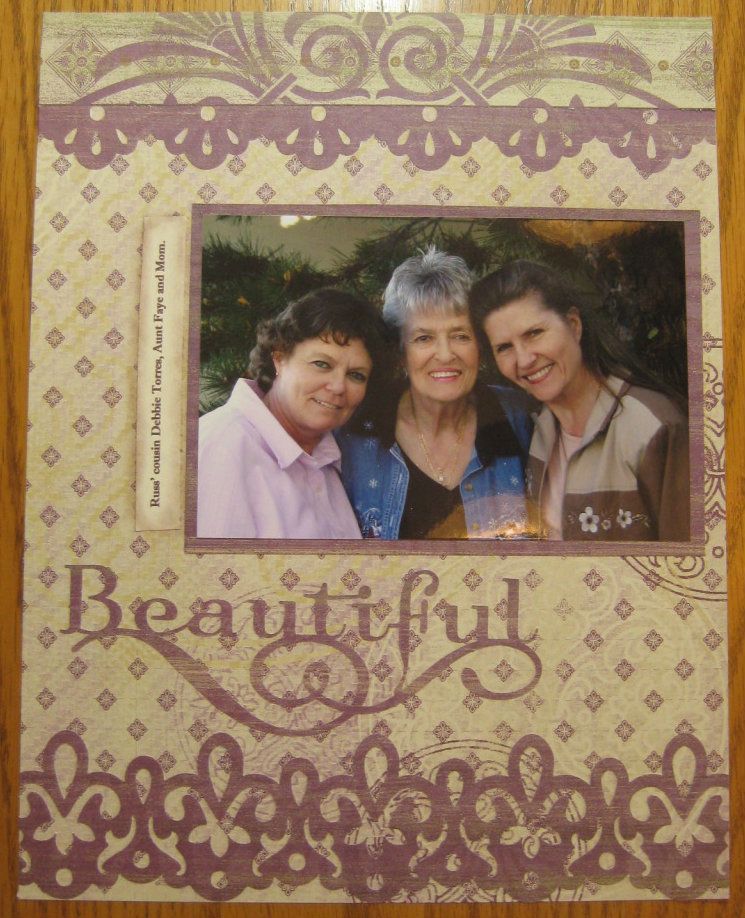
This picture is of my husband's cousin, aunt and Mom.  Three beautiful women in my life.

The paper is from my stash, an old stack I took apart a long time ago.

The page is an 8 1/2 x 11 inch.  The borders are from Ribbons & Rosettes, using the RBBorder 2 feature and cut at 2".  "Beautiful" is from the Lovely Floral cart also cut at 2".


Halloween Memory Game

The little ones in my family have always loved playing memory card games so I created one using my Cricut.


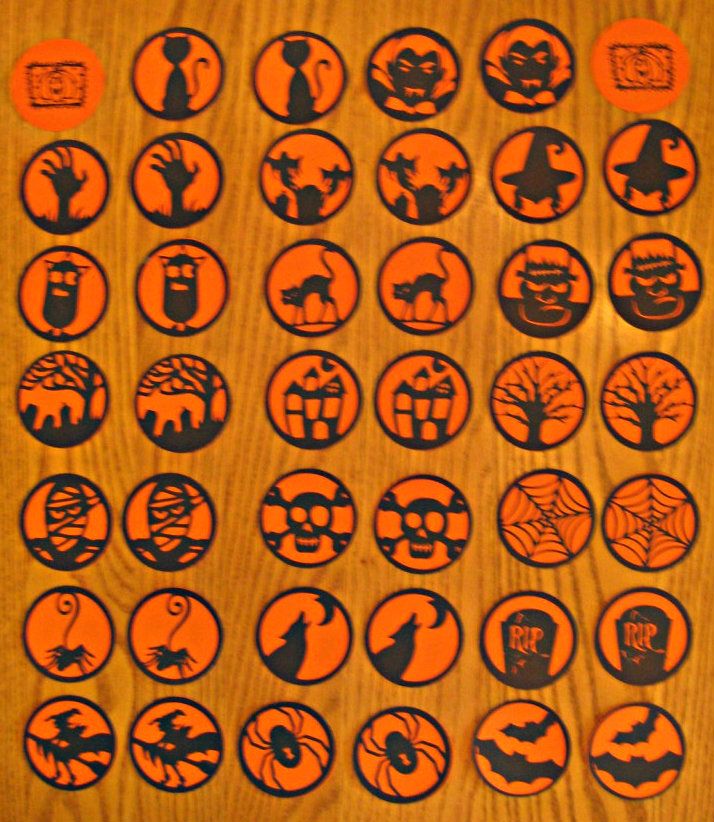
I used 8 1/2 x 11 inch orange and black card stock.  Circles were cut at 2 1/2 inches so I could fit 12 circles per sheet.
 
From the black card stock, using the Pumpkin Carving cartridge, I cut two of every circle image on the cart.  There are 20 circle images.
 
From the orange card stock, using George and Basic Shapes cartridge, I cut 40 - 2 1/2 inch circles.
 
On the orange circle fronts, I stamped a pumpkin image.  You can see the front of the cards in the upper right and left of the photo.
 
I ran the black image cuts through my Xyron and adhered to the backs of the orange circles.
 
To play:
 
Turn all cards stamped image side up.  (I typically let the kids do this.)  Players take turns flipping over two cards.  If it is a match, they keep the set.  Play continues until all cards have been matched.  Player with the most sets wins.


Sunday, September 30, 2012

Cricut FANatics Sketch Challenge #1

Here is the September Sketch Challenge on the Cricut FANatics blog from Amy of Amy's Digi Scraps.


The challenge is to create a card or layout using the above sketch and you must use your Cricut.

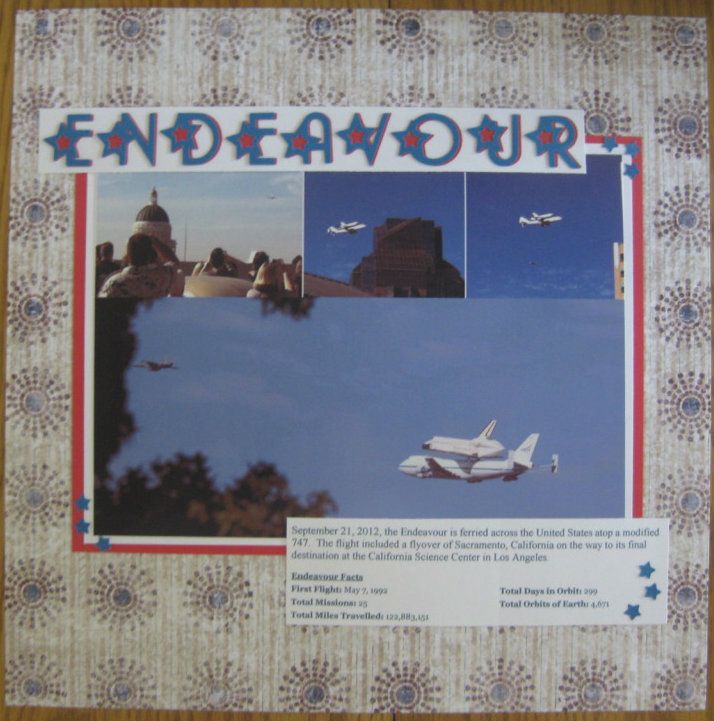
I was one of the fortunate Americans that got to see the Endeavour as it was ferried to its California destination.  This sketch was perfect for photos of the Endeavour as it flew over Sacramento.


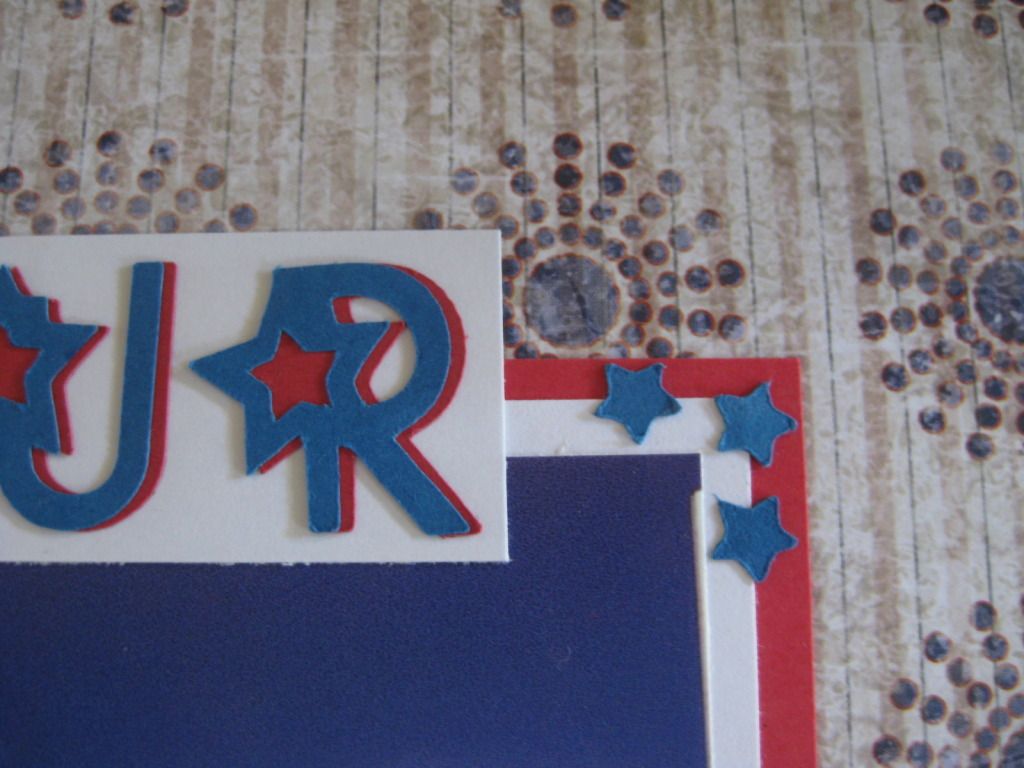
The title was cut at 1" from the Hannah Montana cart using the Rock Star font.  The font does not have a shadow but more of a blackout feature that blacks out the star in the font.  To get a shadow effect I offset the letters slightly so the star was still covered but there was a little bit of color to the right of the letter.


I also used the stars that were cut from the letters as corner highlights for the picture and journaling. 

Thursday, September 27, 2012

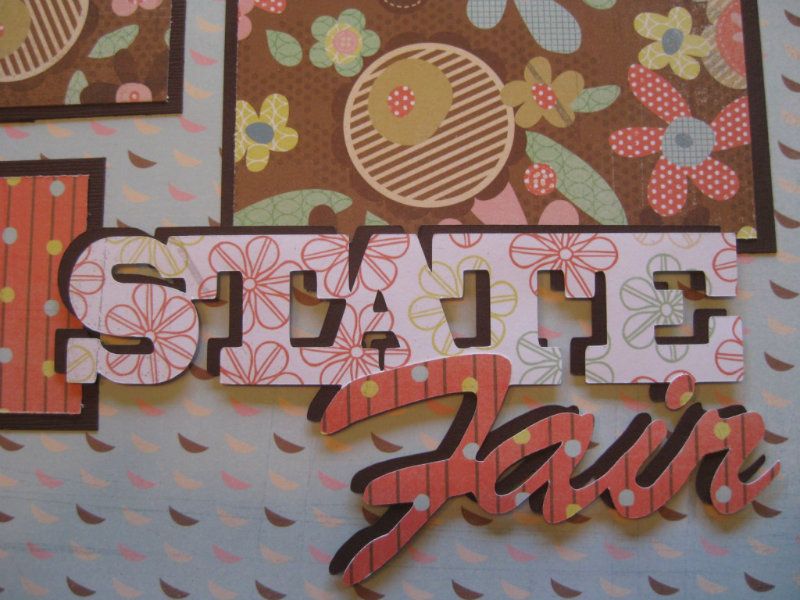
State Fair Layout

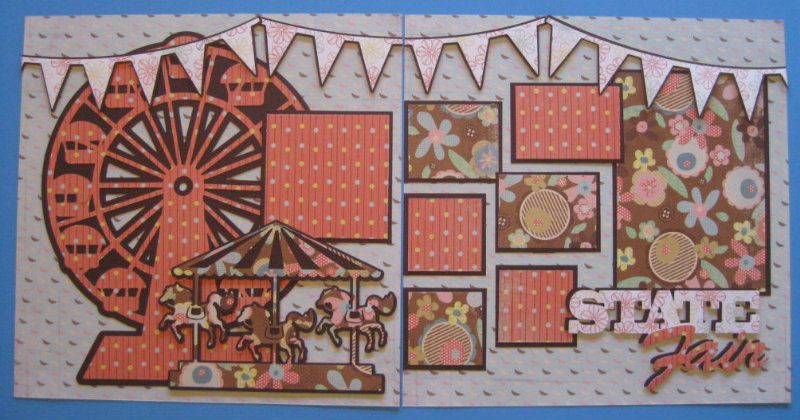
Some of the fun memories of summer include going to an amusement park, carnival or fair. Today I have a layout to share with you that I designed for the Cricut FANatics blog.


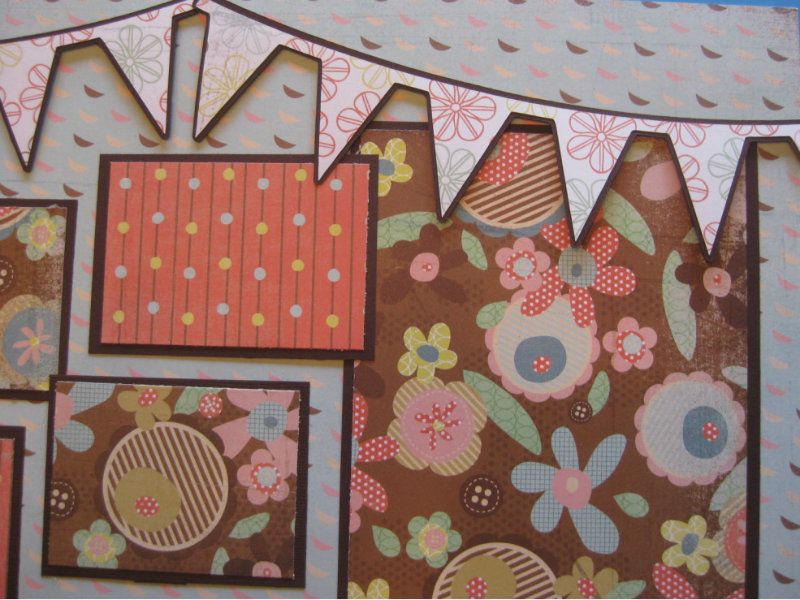
For this layout I used sheets of solid card stock and three different coordinating patterned papers. Cuts are from the Carousel cartridge as follows: Ferris Wheel (Ride5) 10.5 inches; Merry-go-round (Ride4) 5 inches; "State Fair" 3 inches cut in pattern paper and solid; and three Banners 3.5 inches. Photo mats are cut to fit the photos I selected for the layout.

Merry-go-round, banners and title are secured with dimensional tape to add some depth.


The title does not have a shadow cut so I cut the base cut from the solid to create the shadow and off set the pattern cut to make it stand out.


Check out the Carousel cartridge, it has a lot of great cuts for your amusement park, carnival, fair and even circus photos. Happy scrapping!