Thursday, February 6, 2014

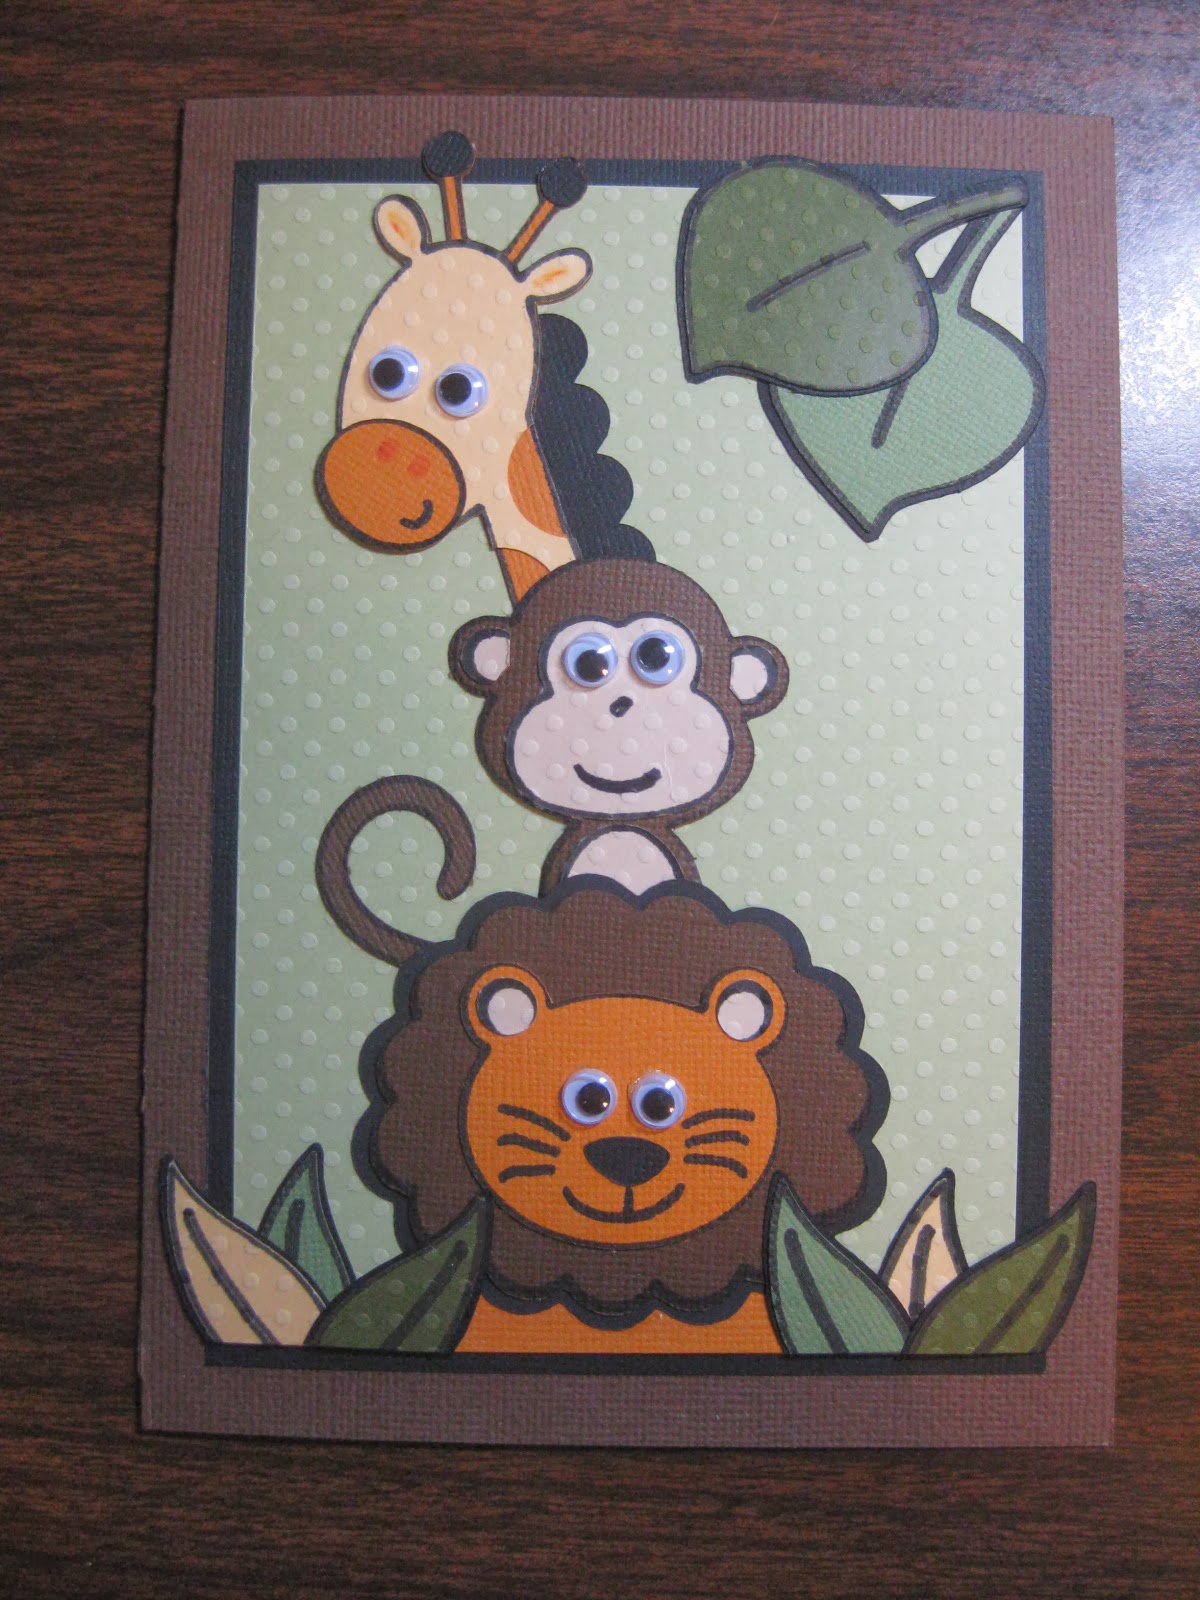
Safari or Zoo Animal Baby Shower

My family has a lot of BIG events coming in 2014.  One of which, we are expecting our first grandbaby!  I had the privilege of throwing my daughter-in-law a baby shower for our side of the family.  My son and DIL do not want to know the sex of the baby so I had to find a unisex theme.  I turned to Pinterest for my inspiration.

The invitation:


I wanted my shower decorations to serve as pages in a scrapbook for my DIL.  I created a door hanger that will serve as the title page in the scrapbook.


The banner:


The cake:


I used the following cartridges:  New Arrival (giraffe, elephant, monkey and "Baby Shower"), Create A Critter (lion, zebra), Nursery Rhymes (font) Art Philosophy (border used for giraffe mane), Don Juan (leaves), and Elegant Edges (heart frame).  Using Cricut Craft Room I created new faces for the monkey and lion using shapes from George Basic Shapes.  All images were drawn first using Cricut markers.  Faces were hand drawn.

I also made my first diaper cake.  Well it wasn't actually a cake.


The centerpiece was a flower arrangement from Costco and a musical toy for the baby from their registry.


Games:  Animal ABCs - Write an animal for each letter of the alphabet.
               Name that Animal Baby - Fill in the name of each animal baby
               Rhyme Time - Decipher the hint and name the rhyme


We had such a lovely time and it was so fun oohing and aahing at all the sweet baby things.


Monday, August 26, 2013

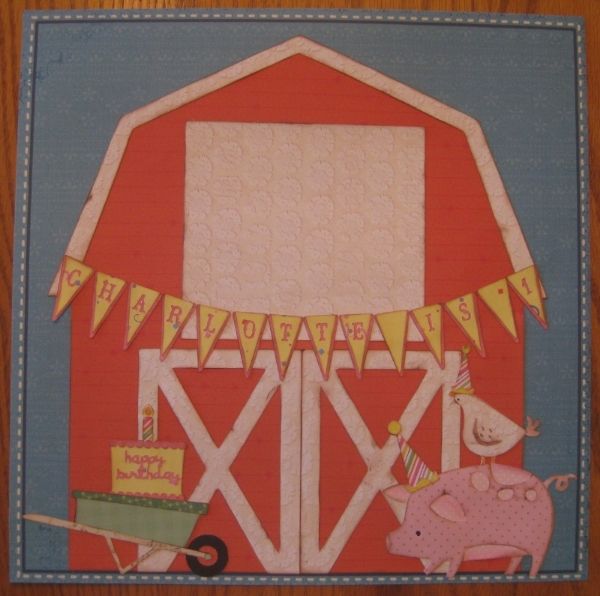
Farm Themed Birthday Layout

Here's a fun little layout I created for the 8/23/13 Circle Weekend Challenge.  The challenge was to create something for a party.  Since I will be going to a birthday party this weekend the challenge was perfect.

 
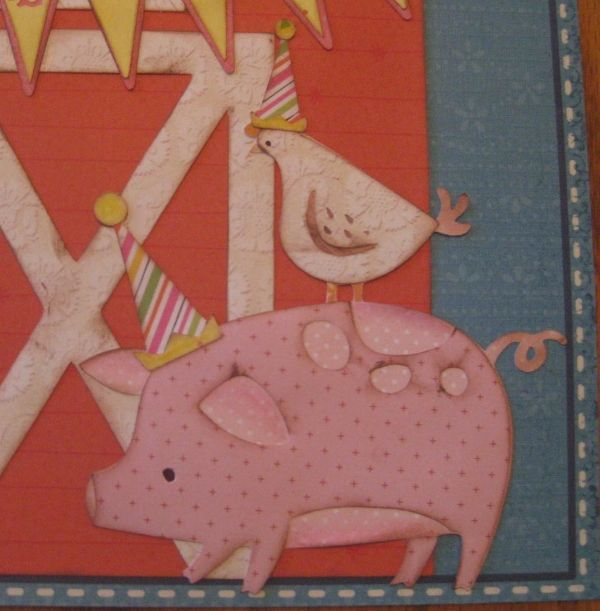
This little piggy is ready to party until the cows come home


The paper is from my stash and scrap bin.
 
I used the following carts:
 
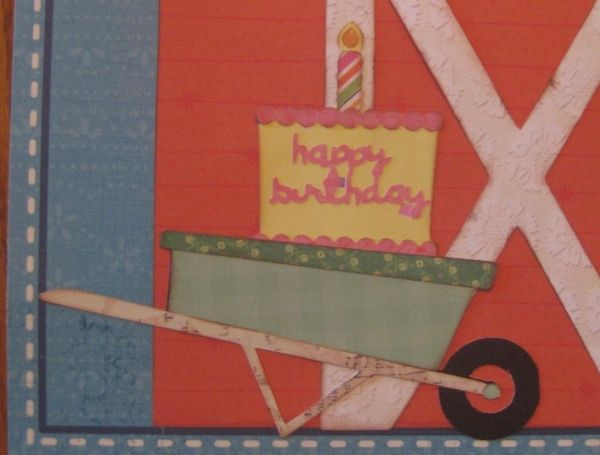
Country Life - on real dial size Barn and barn layer (cut 2 for the door) at 11"; real dial size off Pig with chicken at 4"; Banner letters at 1 1/2"
Birthday Bash - Birthday hat at 1 and 1 1/2"
Freshly Picked - Wheelbarrow at 2"
Sweet Treats - Birthday cake at 2"


Sunday, January 27, 2013

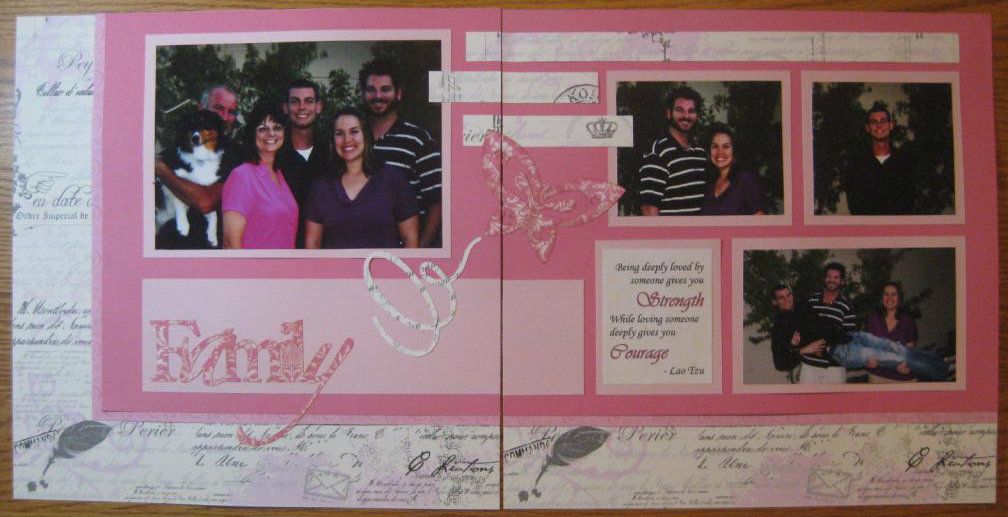
Family Layout

Today's post is a layout I shared on the Cricut FANatics blog.  It is hard to believe January is almost over. Like everyone else, I set some goals for 2013, one of which was doing at least one layout a week. So today, I have a layout to share with you as well as a couple online resources I go to when I'm looking for sketch ideas or Cricut images.
I had some family snapshots I wanted to scrap but wasn't coming up with any great ideas as to how I wanted my layout to look. For inspiration I went to pagemaps.com. This site as all kinds of sketches. I selected a sketch from August 2006.


And here is my completed layout:


I used Echo Park "Love Letters" and Paper Pizazz "Soft Tints Pink Swirls". The solid pink is from Close to My Heart.

It takes me a while to choose the cuts for my layouts. Part of the problem is I have a lot of cartridges and don't know which carts have the image I'm looking for. To solve my problem I go to mycutsearch.com. This site is awesome and simple to use. You simply enter what you are looking for and the site shows you all the handbook pages with the searched image.

The Echo Park paper was double sided so I used the reverse side for my cuts. The butterfly is from Pink Journey and "Family" is from Sophisticated. Both were cut at 3". "Family" was part of a longer phrase so I used Design Studio to hide the other words and make the cut.

I started my layout at a crop and I didn't bring my inks but I had my Inkadinkado blending chalks. I used brown chalk along the edges of my cuts.

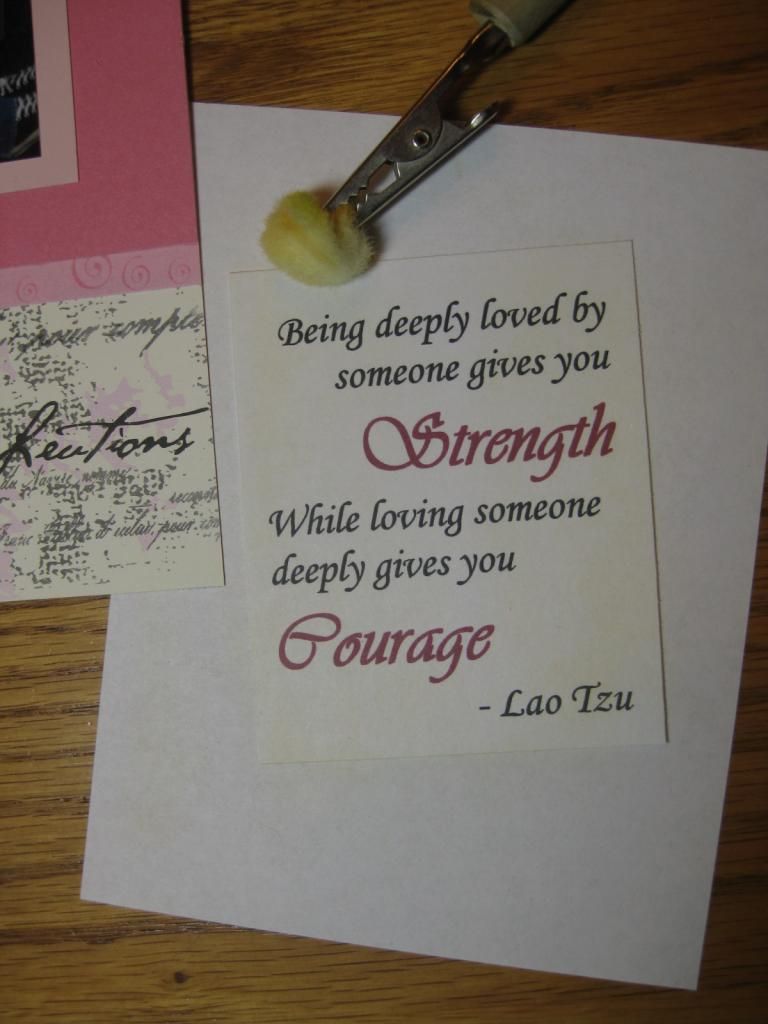
The quote was computer generated but I only had white paper. I didn't like the starkness of the white so I yellowed the paper with a mustard colored chalk.

Looking for sketch inspiration go to pagemaps.com
Looking for a Cricut image go to mycutsearch.com

Thank you for stopping by and allowing me to share with you today.


Designed by: Rita Poteat
Cartridges: Pink Journey, Sophisticated
Cricut Machines: Expression, Design Studio
Other Materials Used: Echo Park "Love Letters", Paper Pizazz "Soft Tints Pink Swirls", Close to My Heart pink cardstock, Inkadinkado blending chalks


Wednesday, December 26, 2012

Cricut Cricut FANatics Crafty Challenge #4- Christmas/Winter Decorations

This month the Cricut FANatics crafty challenge is to create a Christmas or winter decoration for the home.  I thought this was the perfect challenge to recreate something I came across on Pinterest. 

I loved the look of this wall decor item created by Kim Wilson from Sand & Sisal.


Here is my Cricut version:


The letters were cut from Wall Decor & More at 11 1/2 inches.  Instead of an "O", I used the zero.  Each letter was cut from Cosmo Cricket paper, the "Be Good: Poinsettia" pattern and twice from chipboard for thickness.  After the paper and chipboard was sandwiched together, the edges were inked with VersaMagic "Jumbo Java".  The "N" "0" and "L" were taped together on the backside.  The "E" was placed on top of the other letters using foam tape to give it dimension.


I was very pleased with the results.

Monday, October 22, 2012

Cricut FANatics Sketch Challenge #2

Here is the October's Sketch Challenge on the Cricut FANatics blog from Amy of Amy's Digi Scraps.


The challenge is to create a card or layout using the above sketch and you must use your Cricut.

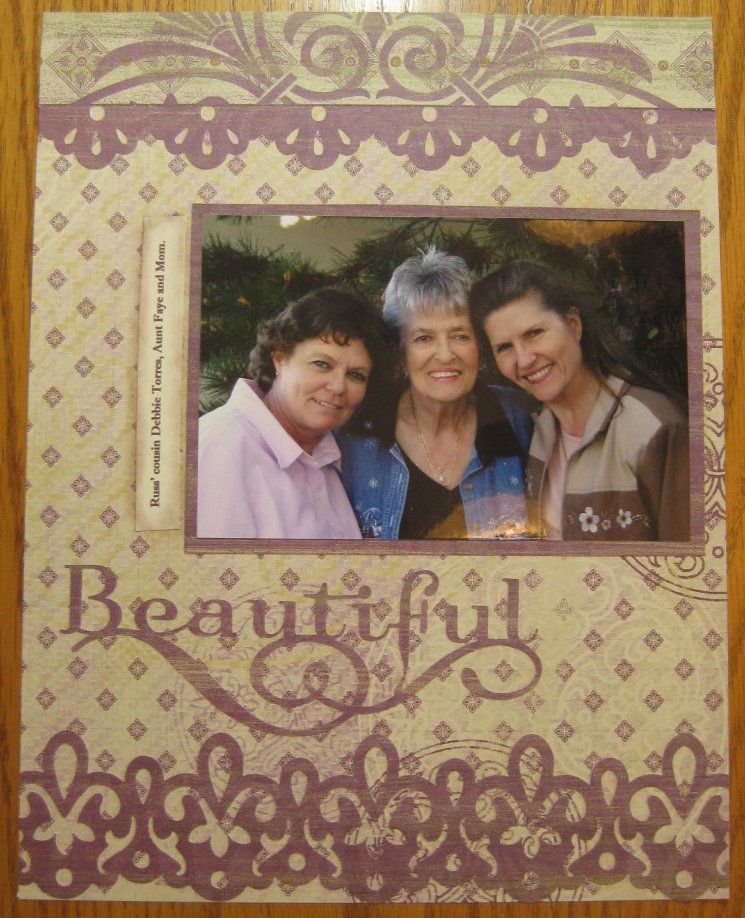
I have been working on my 2006 album forever!  I had a few more pages to do but lost my mojo on working on the album long ago.  This sketch helped me finish the album.  Thank you Amy!


This picture is of my husband's cousin, aunt and Mom.  Three beautiful women in my life.

The paper is from my stash, an old stack I took apart a long time ago.

The page is an 8 1/2 x 11 inch.  The borders are from Ribbons & Rosettes, using the RBBorder 2 feature and cut at 2".  "Beautiful" is from the Lovely Floral cart also cut at 2".


Halloween Memory Game

The little ones in my family have always loved playing memory card games so I created one using my Cricut.


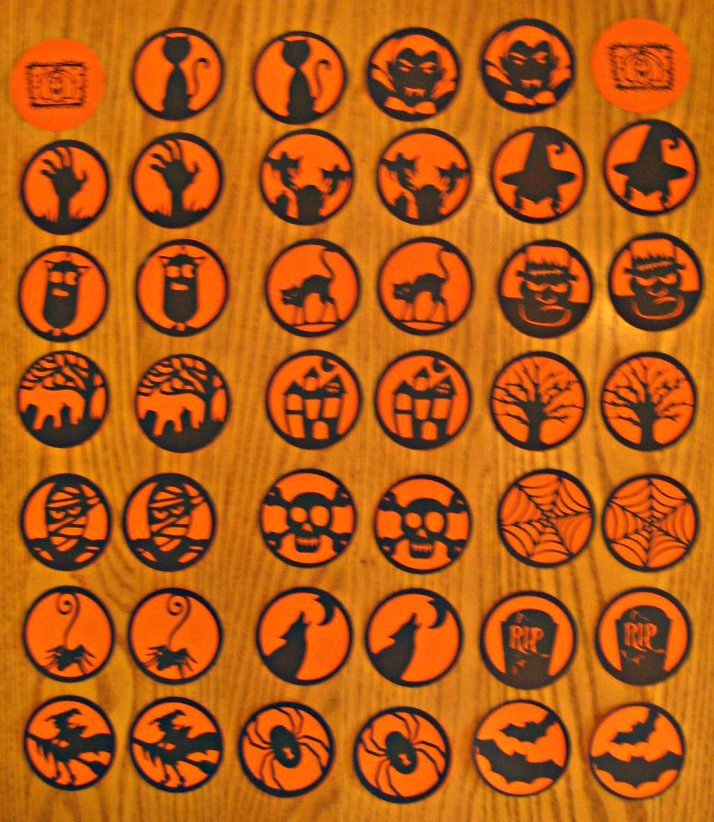
I used 8 1/2 x 11 inch orange and black card stock.  Circles were cut at 2 1/2 inches so I could fit 12 circles per sheet.
 
From the black card stock, using the Pumpkin Carving cartridge, I cut two of every circle image on the cart.  There are 20 circle images.
 
From the orange card stock, using George and Basic Shapes cartridge, I cut 40 - 2 1/2 inch circles.
 
On the orange circle fronts, I stamped a pumpkin image.  You can see the front of the cards in the upper right and left of the photo.
 
I ran the black image cuts through my Xyron and adhered to the backs of the orange circles.
 
To play:
 
Turn all cards stamped image side up.  (I typically let the kids do this.)  Players take turns flipping over two cards.  If it is a match, they keep the set.  Play continues until all cards have been matched.  Player with the most sets wins.


Sunday, September 30, 2012

Cricut FANatics Sketch Challenge #1

Here is the September Sketch Challenge on the Cricut FANatics blog from Amy of Amy's Digi Scraps.


The challenge is to create a card or layout using the above sketch and you must use your Cricut.

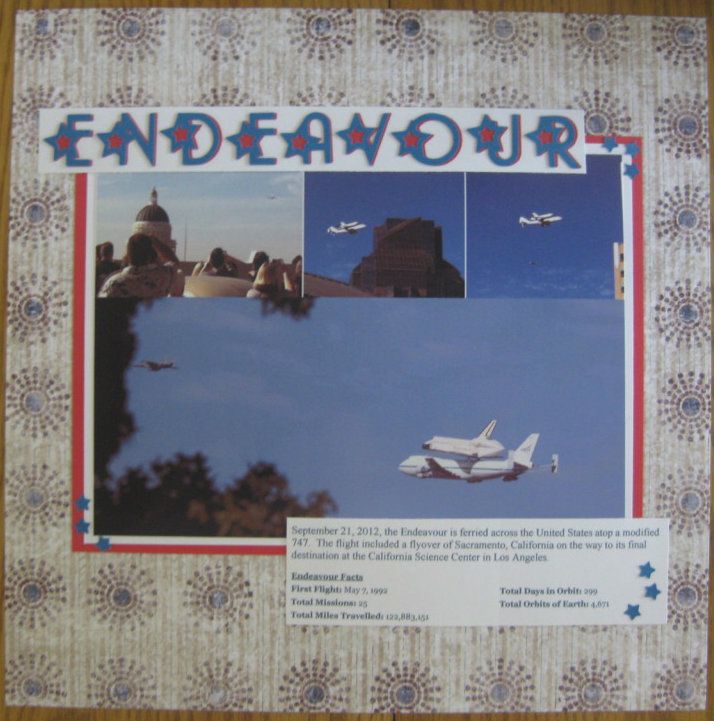
I was one of the fortunate Americans that got to see the Endeavour as it was ferried to its California destination.  This sketch was perfect for photos of the Endeavour as it flew over Sacramento.


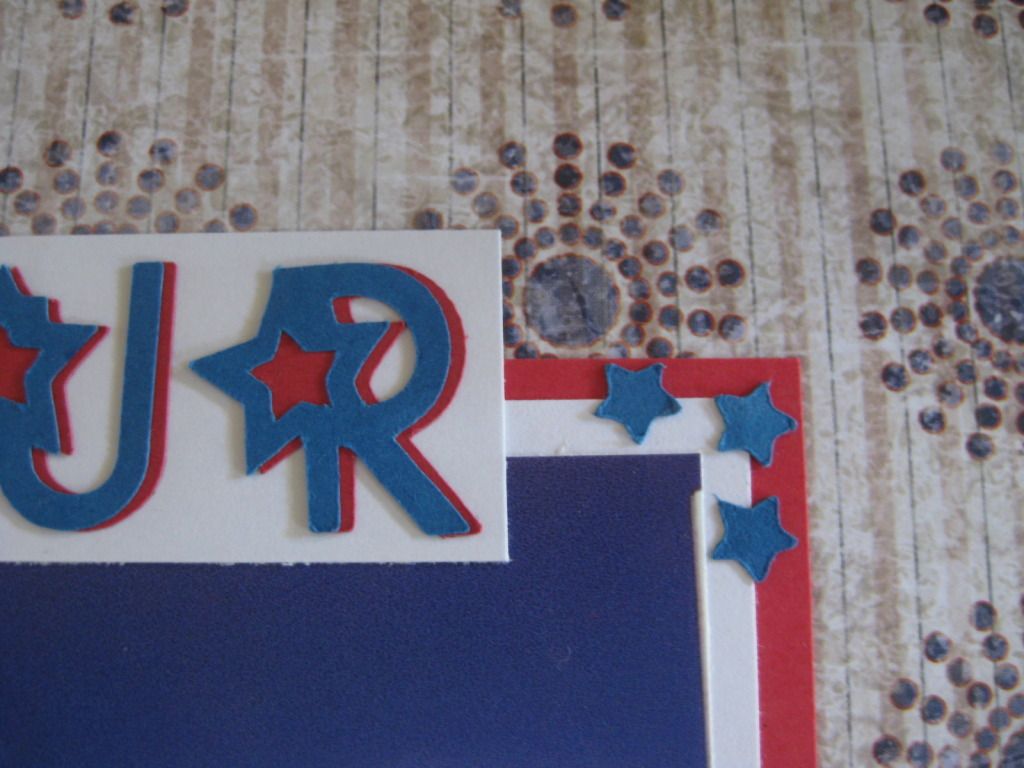
The title was cut at 1" from the Hannah Montana cart using the Rock Star font.  The font does not have a shadow but more of a blackout feature that blacks out the star in the font.  To get a shadow effect I offset the letters slightly so the star was still covered but there was a little bit of color to the right of the letter.


I also used the stars that were cut from the letters as corner highlights for the picture and journaling. 

Thursday, September 27, 2012

State Fair Layout

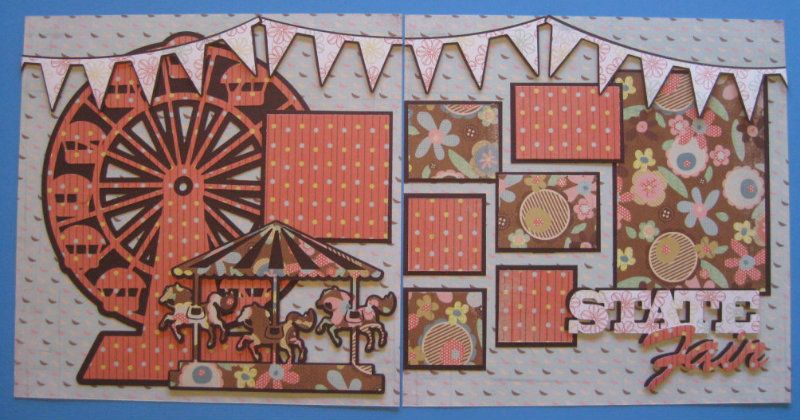
Some of the fun memories of summer include going to an amusement park, carnival or fair. Today I have a layout to share with you that I designed for the Cricut FANatics blog.


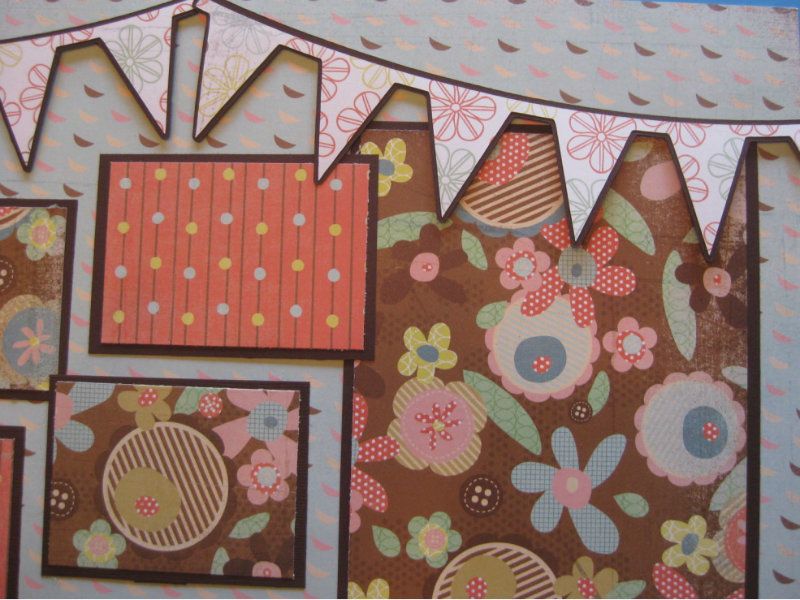
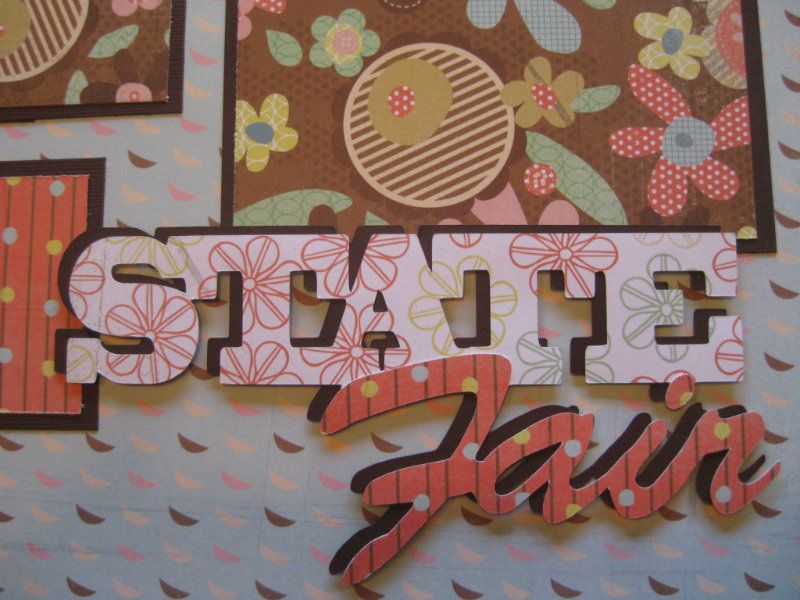
For this layout I used sheets of solid card stock and three different coordinating patterned papers. Cuts are from the Carousel cartridge as follows: Ferris Wheel (Ride5) 10.5 inches; Merry-go-round (Ride4) 5 inches; "State Fair" 3 inches cut in pattern paper and solid; and three Banners 3.5 inches. Photo mats are cut to fit the photos I selected for the layout.

Merry-go-round, banners and title are secured with dimensional tape to add some depth.


The title does not have a shadow cut so I cut the base cut from the solid to create the shadow and off set the pattern cut to make it stand out.


Check out the Carousel cartridge, it has a lot of great cuts for your amusement park, carnival, fair and even circus photos. Happy scrapping!

Thursday, June 28, 2012

Cricut Circle June Monthly Challenge: A Gift for Baby

The challenge:  Create a gift for baby using Cricut products

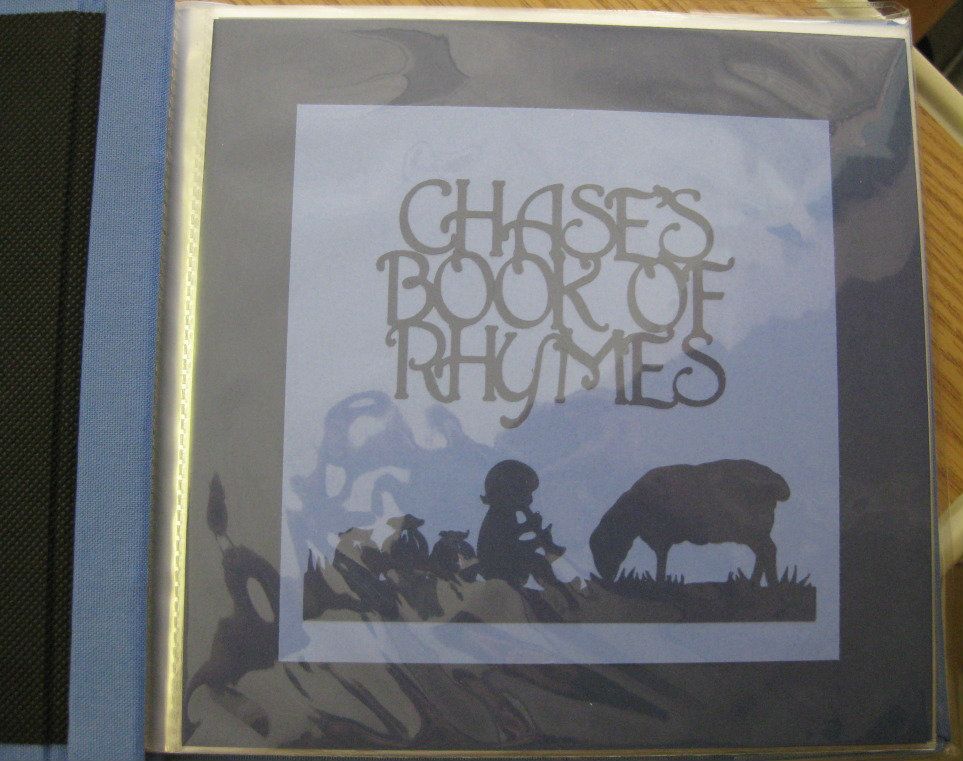
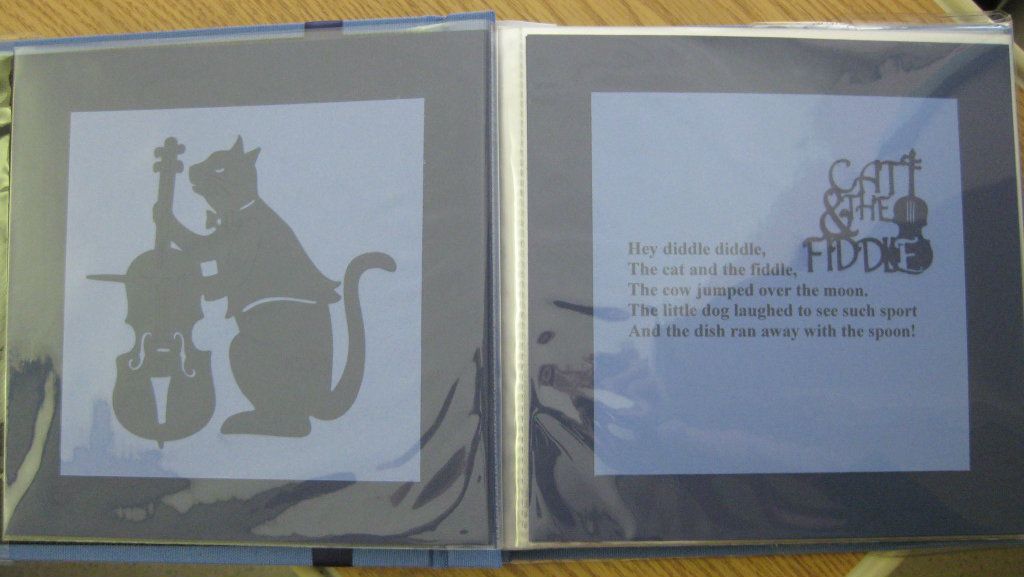
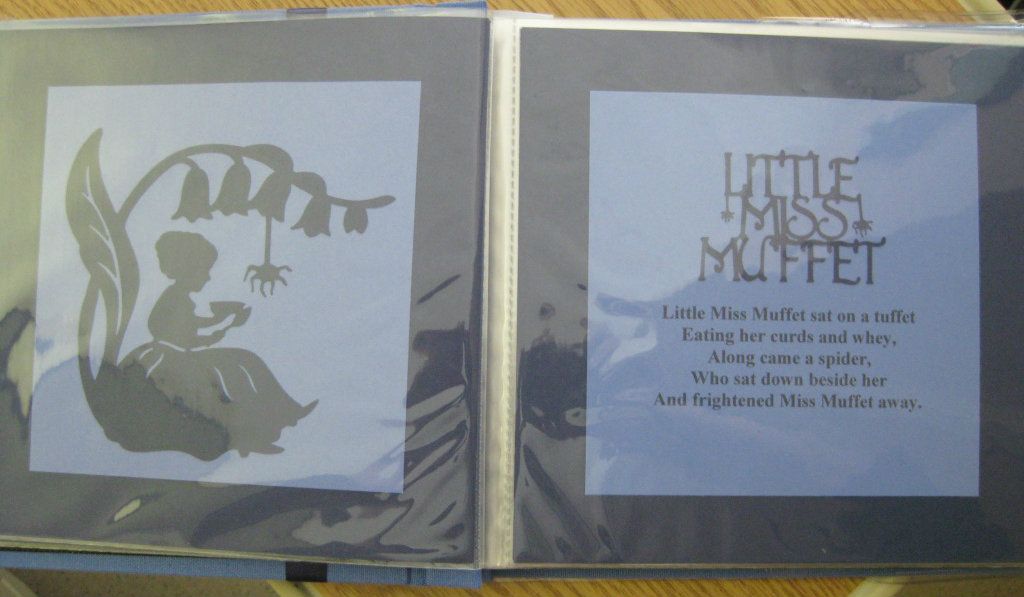
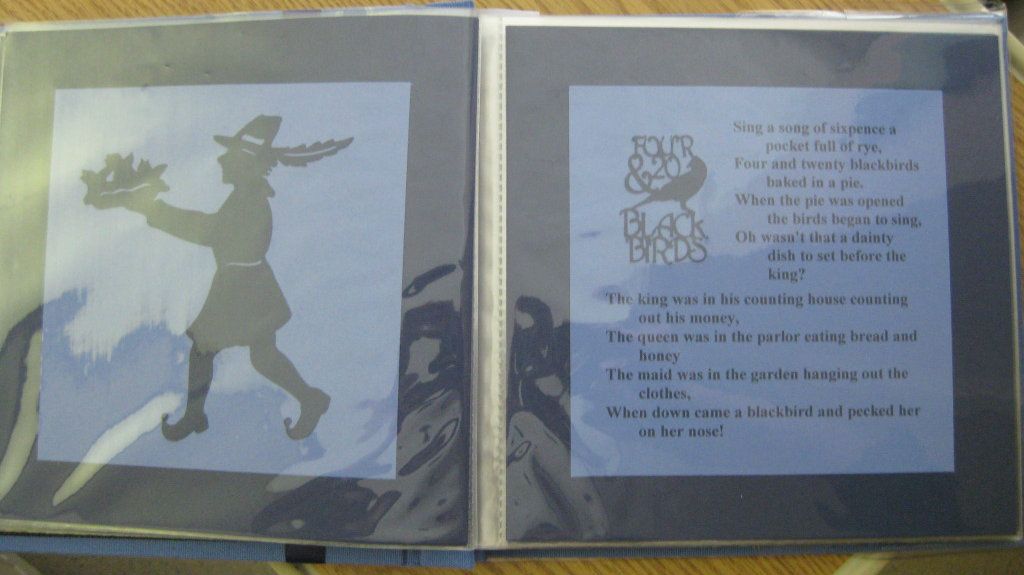
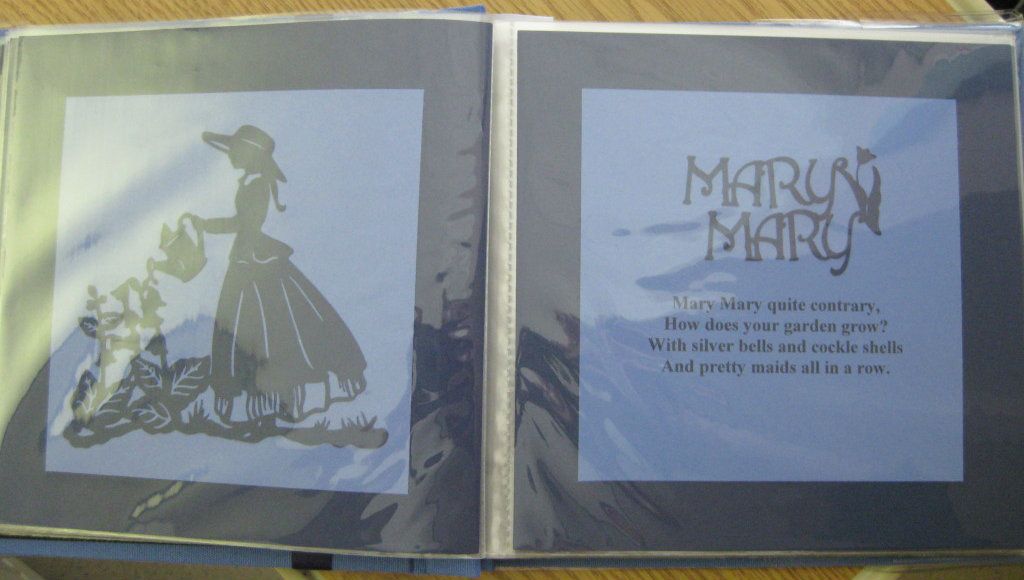
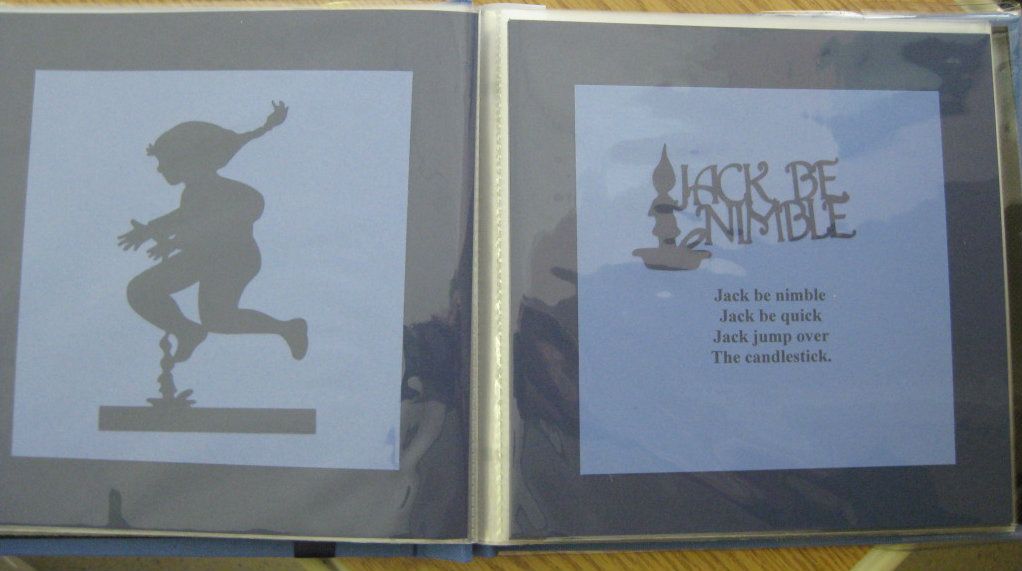
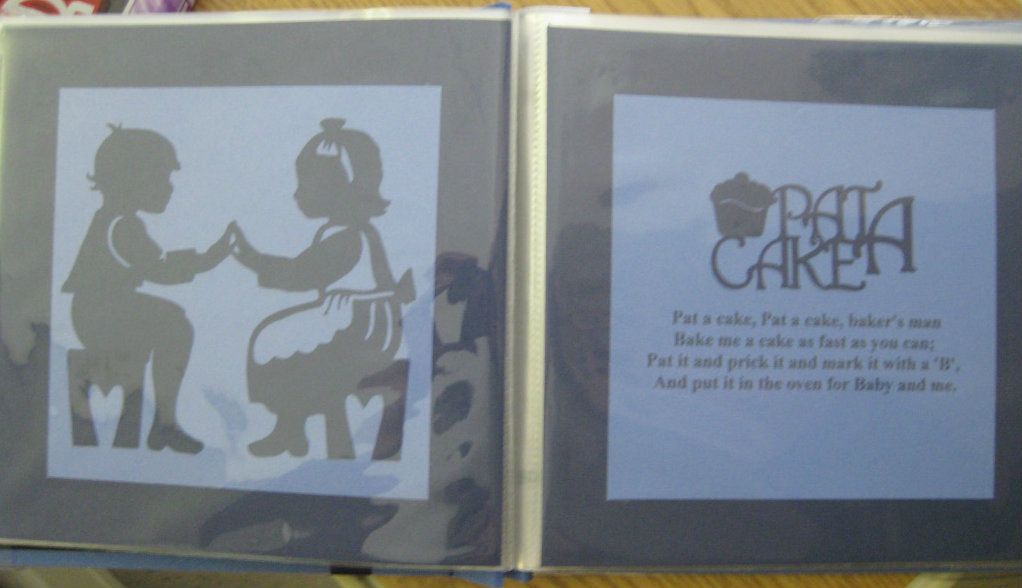
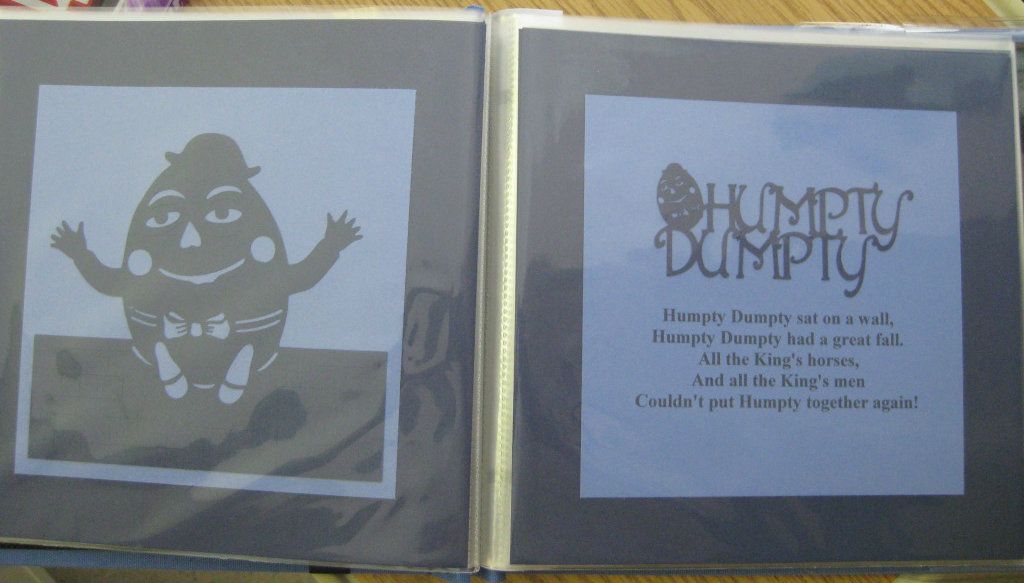
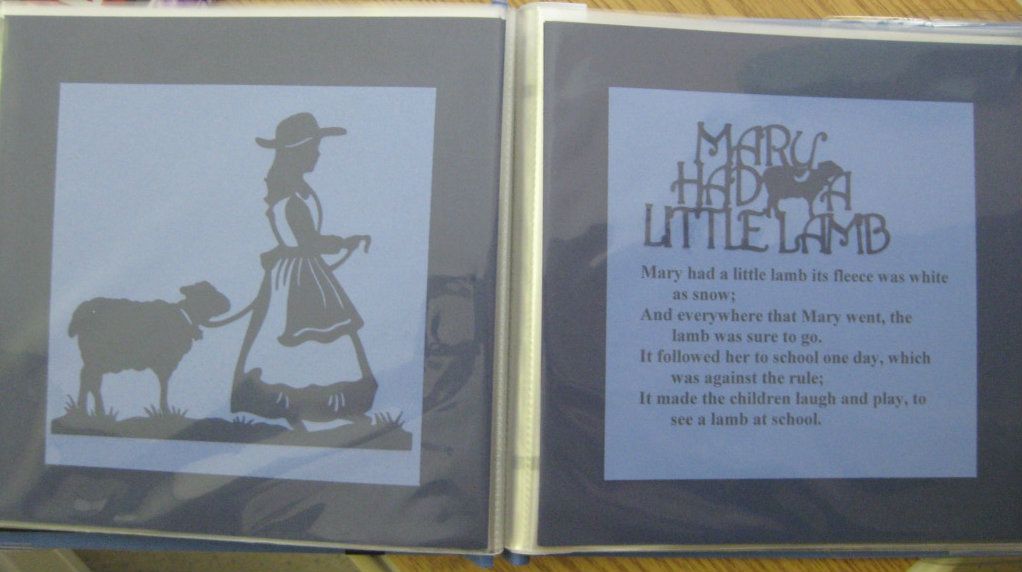
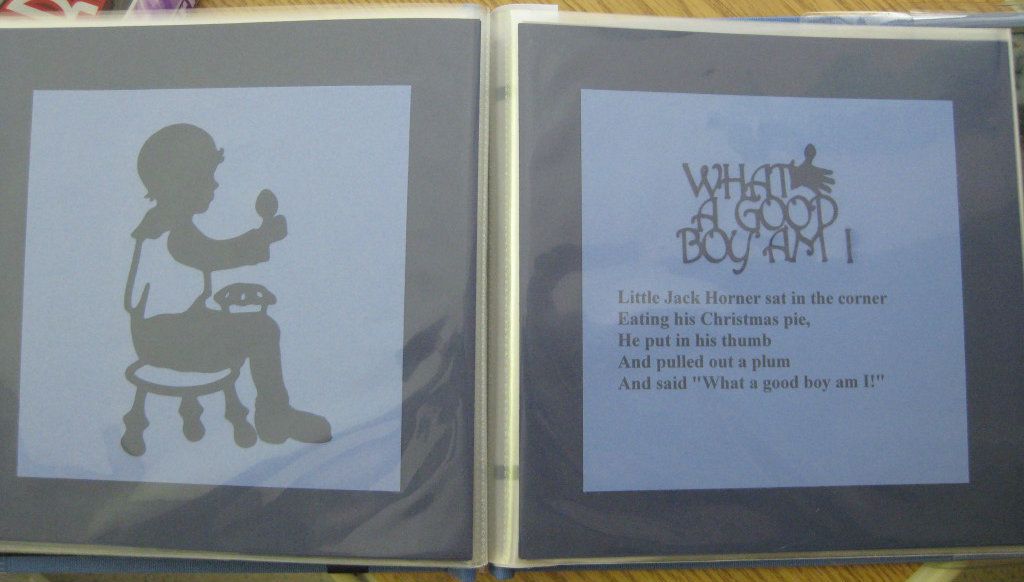
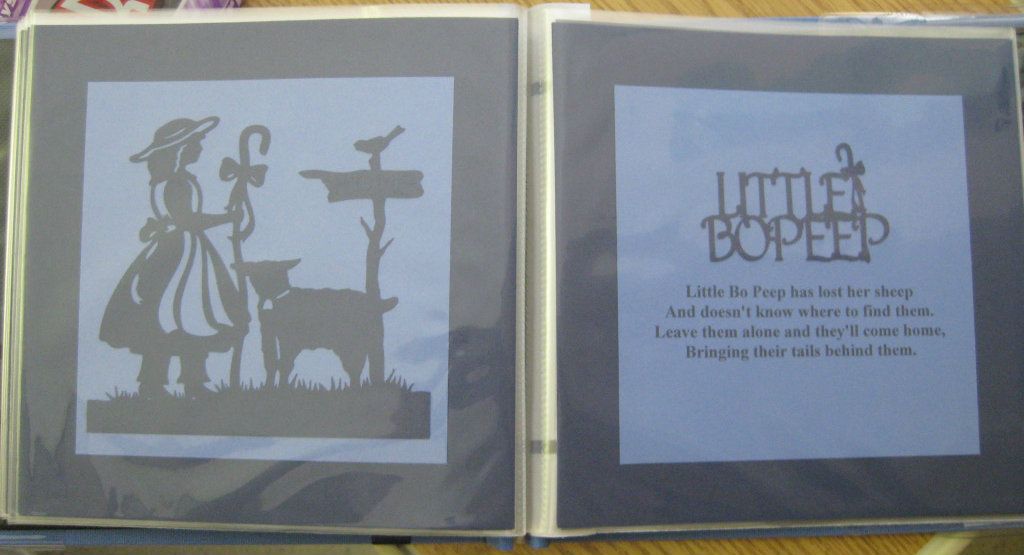
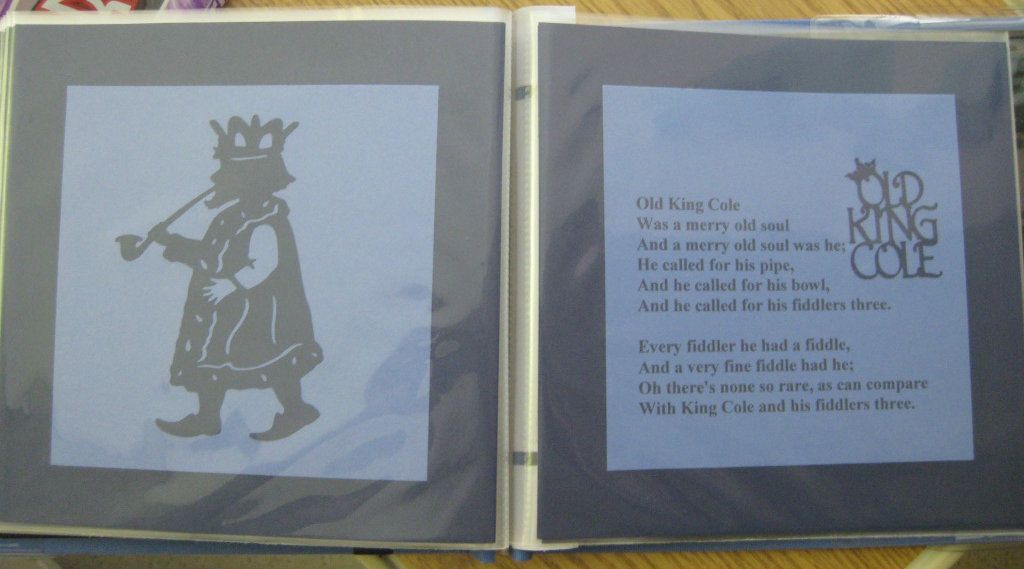
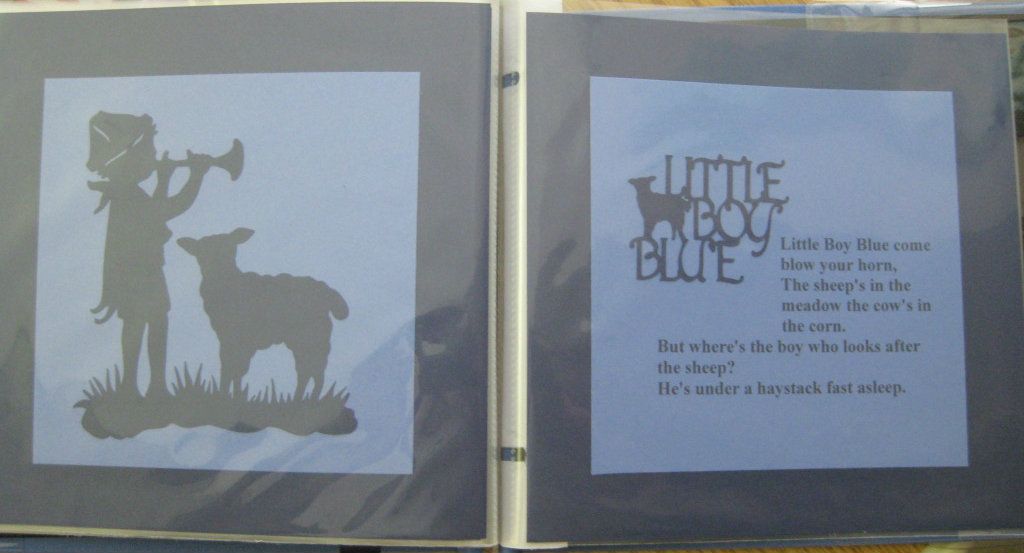
I created an "Auntie Rita's version" nursery rhymn book for my newest nephew. I used an 8" scrapbook album. The grey background is 6" square. The cuts are from the Nusery Rhymn cart. The silhouettes and titles cut through Design Studio so that I could stretch the cuts to fit my needs.

Sorry, the pictures are not the best. I didn't have time to take pictures before I gave him the book so I had to take them at the hospital.


Monday, January 30, 2012

Cricut Circle January Monthly Challenge: The Year in Review

The Challenge: Create a scrapbook page or mini album reviewing the year 2011. What was memorable about the year overall? Or maybe you want to summarize the events that happened each month in your life. Whatever your approace, use your Cricut machines to tell your 2011 story.
Rules and Guidelines: Circle Blog Challenges are open to Cricut Circle Members only. Your project must be newly created for this challenge and include atleast 2 Cricut Image Cuts. You must submit a project to be entered into the Challenge Prize Drawing.

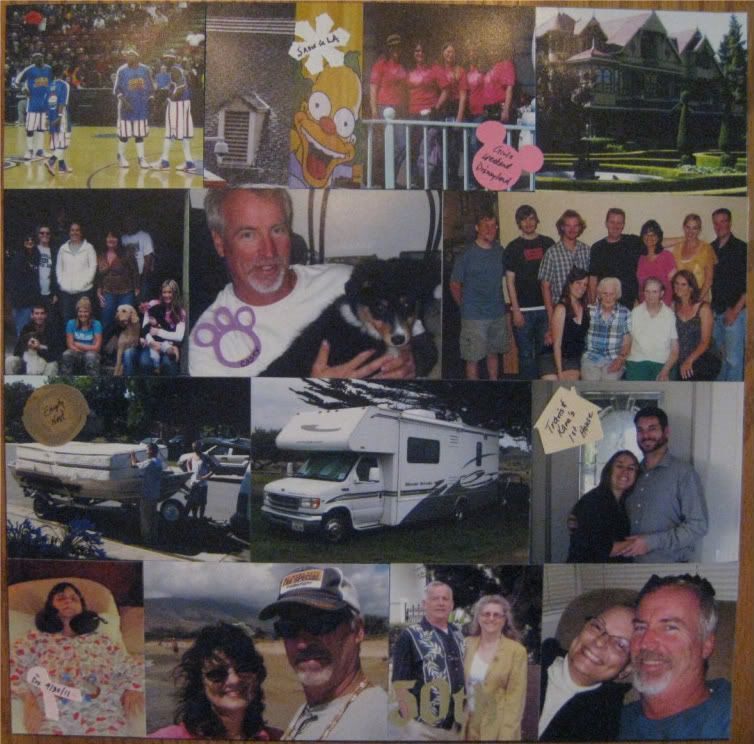
It's been a little while since I've been able to participate in a Circle challenge and what better way to jump back in than with this challenge.  The best way to describe 2011 is bitter sweet.  I finally got to see the Harlem Globe Trotters; we vacationed in Southern California; lost Kodiak our beloved furbaby, adopted Casey a few months later; spent a lot of time this year with family; we upgraded to an RV; Travis and Kara purchased their first home; I was diagnosed with breast cancer; we went to Hawaii; and Russ' parents celebrated their 50th anniversary.  I created this collage layout highlighting our year.


All cricut cuts were cut at 1 inch.  Cricut cartridges used:  Blackletter - 50th; Give a Hoot - Nest; Kate's ABC's - House; Mickey & Friends - Mickey ears; Paper Pups - Paw; Pink Journey - Ribbon; Winter Lace - Snowflake

Sunday, August 7, 2011

Cricut Circle August Monthly Challenge: Create a Scene

"There are so many fun Cricut cuts available on our cartridges including trees, buildings, backgrounds, flowers and more! For this next challenge, we want to see you utilize these cuts by creating a scene on your project.

The Challenge: Create a project of your choice utilizing your Cricut Cut Images to create a scene! (You are not required to use it, but your latest Circle Exclusive cartridge, Pop-Up Neighborhood, has tons of great images for building a scene!) Your project must include atleast 2 different Cricut Image Cuts.

Rules and Guidelines: Circle Blog Challenges are open to Cricut Circle Members only. You can create any type of project you would like (tag, altered project, mini album, etc.) but your project must be newly created for this challenge and include atleast 2 Cricut Image Cuts."

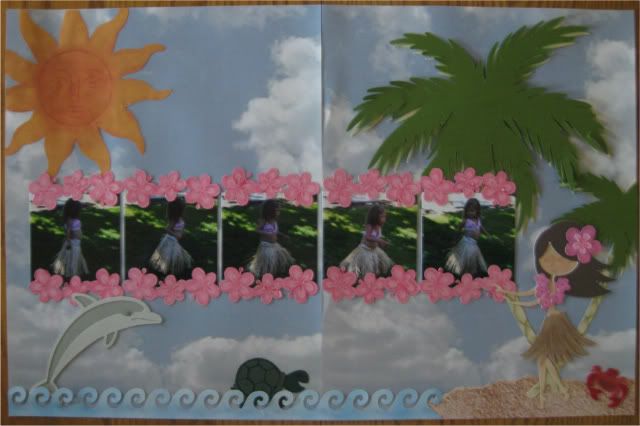
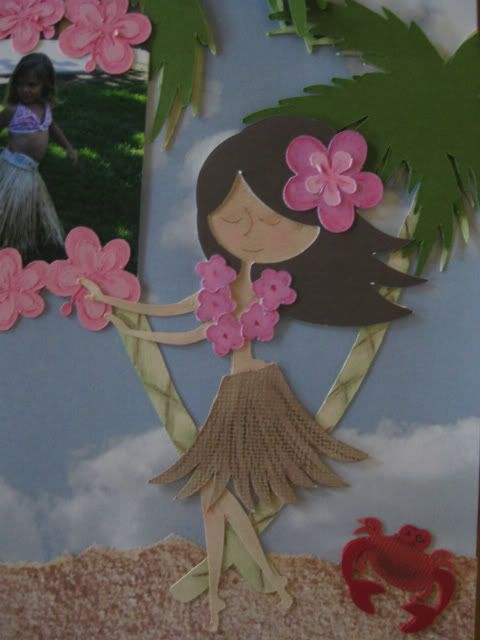
In 2006 at my sister's 40th birthday party, my then 2 year old niece performed her version of the hula.  I chose Life's a Beach to create a scene to scrap these adorable pictures.


Cricut cuts:  Palm trees - 10", Sun - 5", Hula girl - 5", Dolphin - 3", Turtle - 1 1/2", Crab - 1", Wave border - 1", Hibiscus border - 1"

Cuts were highlighted with chalks and SU watercolor pencils.

Here's a close-up of the hula girl.

Friday, July 15, 2011

Cricut Circle June Magazine Challenge

"TERESA COLLINS SPONSOR CONTEST!

Teresa Collins is one of our favorites in our little Circle! We have featured her paper collections and Imagine Cartridge all through this month’s issue. It’s only fitting to use her designs in our contest this month! We invite you to create a project, layout, card or gift item using any of her paper collections, Imagine cartridge or Blingage. We would like it to have a celebration theme. Maybe an elegant birthday, anniversary or wedding.

Contest Rules: Use at least 4 Cricut Cuts from any cartridge in your design and at least 3 Teresa Collins products like her paper collections, Imagine cartridge, Blingage, albums or any other product she produces in your design. Contest will open on June 18th. Please upload a working link or picture of your project to the blog under the Magazine Challenge tab. . Please, one entry per person. Entry deadline is Friday, July 15th. The winner of this contest will receive a Damask Décor Cartridge and Cuttlebug folder set!"

For my project I used paper and die cuts from Teresa Collin's Timeless collection and the Gentry's Glitter.  What beautiful paper!


My in-laws will be celebrating 50 years of marriage this coming November.  I created a layout to celebrate their 50th anniversary.  The upper photo mat is for a snapshot from their wedding day.  The bottom photo mat is for a snapshot we'll take at the party.


Cricut cartridges used:  Calligraphy Collection for phrase "Happy Anniversary" and "50"; Storybook for the flourishes.

Paper:  Teresa Collins Timeless Labels, TS2003; Timeless Time Clocks, TS2004; Timeless Die Cuts, TS2010.  Mats and Cricut cuts were cut from paper that I had in my stash.

I used the glitter on the "50" and absolutely loved the effect.  Added additional bling with brads from my stash.

Wednesday, June 29, 2011

Cricut Circle June Monthly Challenge

"JUNE MONTHLY CHALLENGE: On the Road Again Challenge!

For a lot of us summertime means ROAD TRIP! For this challenge, we want you to create something . . . ANYTHING for your car! It can be a travel game, travel activity, organizer, whatever! Let your imagination run wild.

The random winner of this challenge will receive a $150 Credit to Cricut.com!

The Challenge: Create a project of your choice that will help you or your kids on that long summer road trip. It can be a travel game, travel activity, organizer, snack holder, whatever! But your project must include atleast 2 different Cricut Image Cuts."

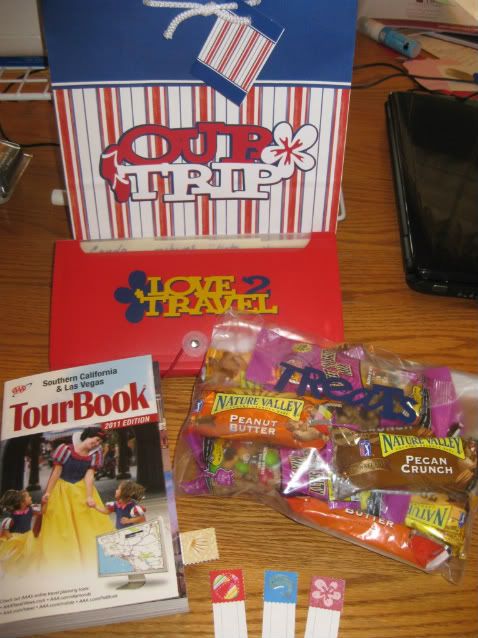
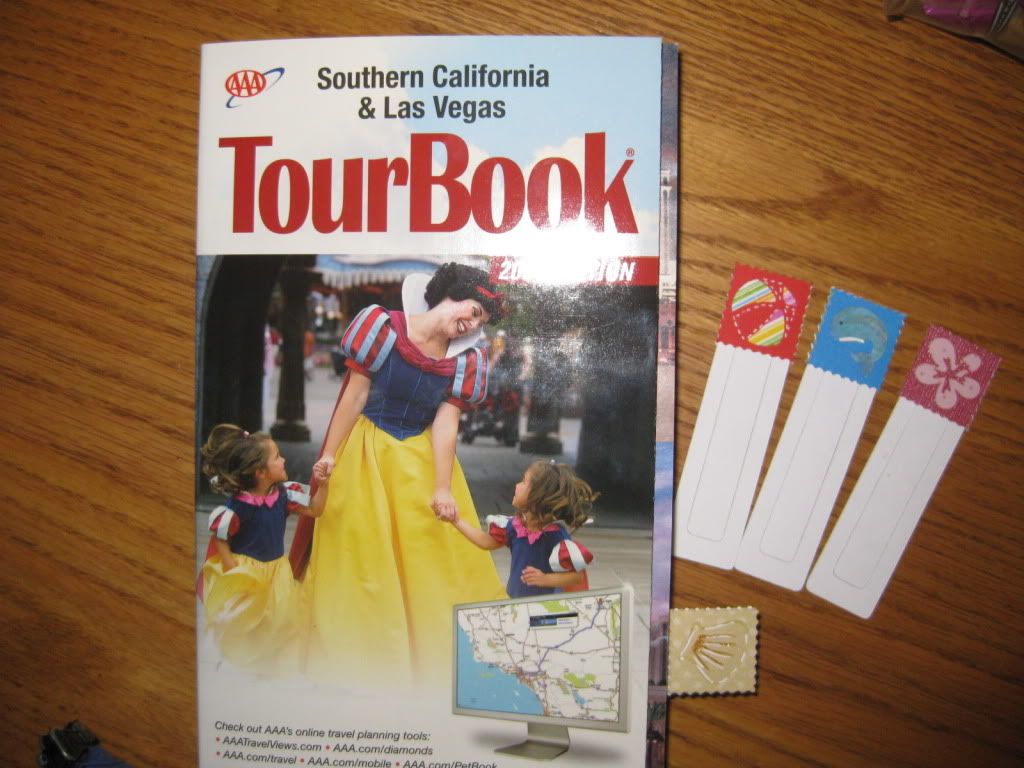
For this challenge I put together a little travel care package for my son, Travis and his lovely bride Kara.  They are finally getting to go on their honeymoon.  They will be driving to San Diego so I thought the AAA Tour book, some maps and snacks would be helpful. 


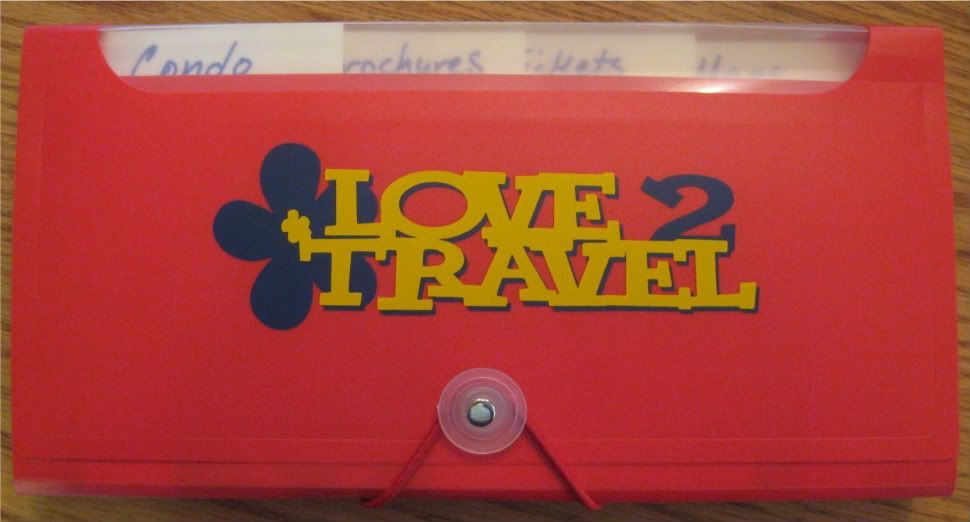
I bought a coupon organizer at the Dollar Tree to organize reservation info, maps, brochures and tickets.


I also made a few bookmarks so they can flag pages in the tour book.


Cricut cartridges used:  Pack Your Bags for the phrases and bookmark tops, Birthday Bash for "Treats" and Animal Kingdom for the bookmark.

Monday, June 20, 2011

Cricut Circle Blog Weekly Challenge #34: Father's Day Card Sketch

"The Challenge: Get a headstart on Father’s Day and create a greeting card using the sketch provided below. Have fun!

Rules and Guidelines: Circle Blog Challenges are open to Cricut Circle Members only. Your project must be newly created for this challenge and include atleast 2 Cricut Imagine Cuts.


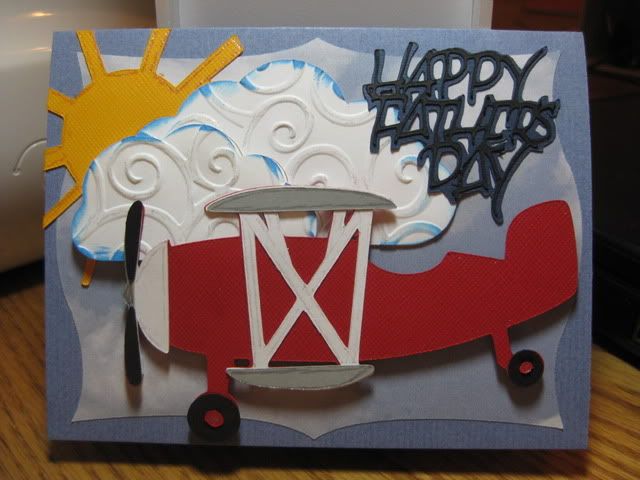
Here's my take on the sketch, I made a card for my sweet husband:


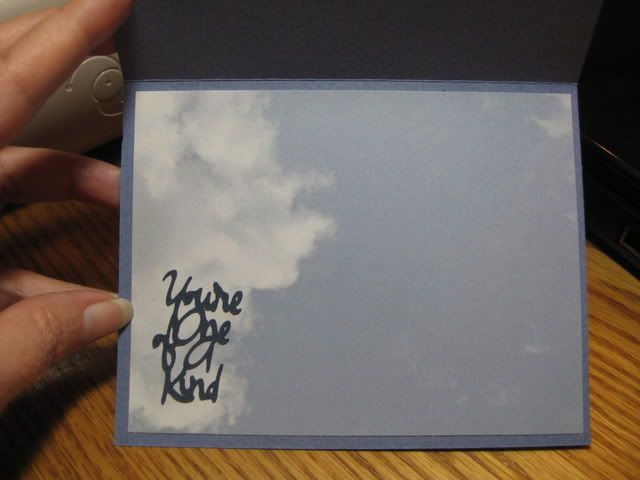
I used our latest Circle Exclusive cart, Pop-up Neighborhood along with Calligraphy Collection and Wild Card.  From Pop-up Neighborhood, I cut the sun/clouds using the Bakery accessory cut at 3", the airplane is cut at 2 1/2", the cloud paper background is the airplane <s> tag cut at 4". I used Calligraphy Collection for "Happy Father's Day" cut at 3" and Wild Card for "You're One of a Kind" cut at 2 1/4"

Clouds were embossed using my Cuttlebug and the Divine Swirls folder then edges were inked.  All cuts were traced using Sakura gelly roll pens.